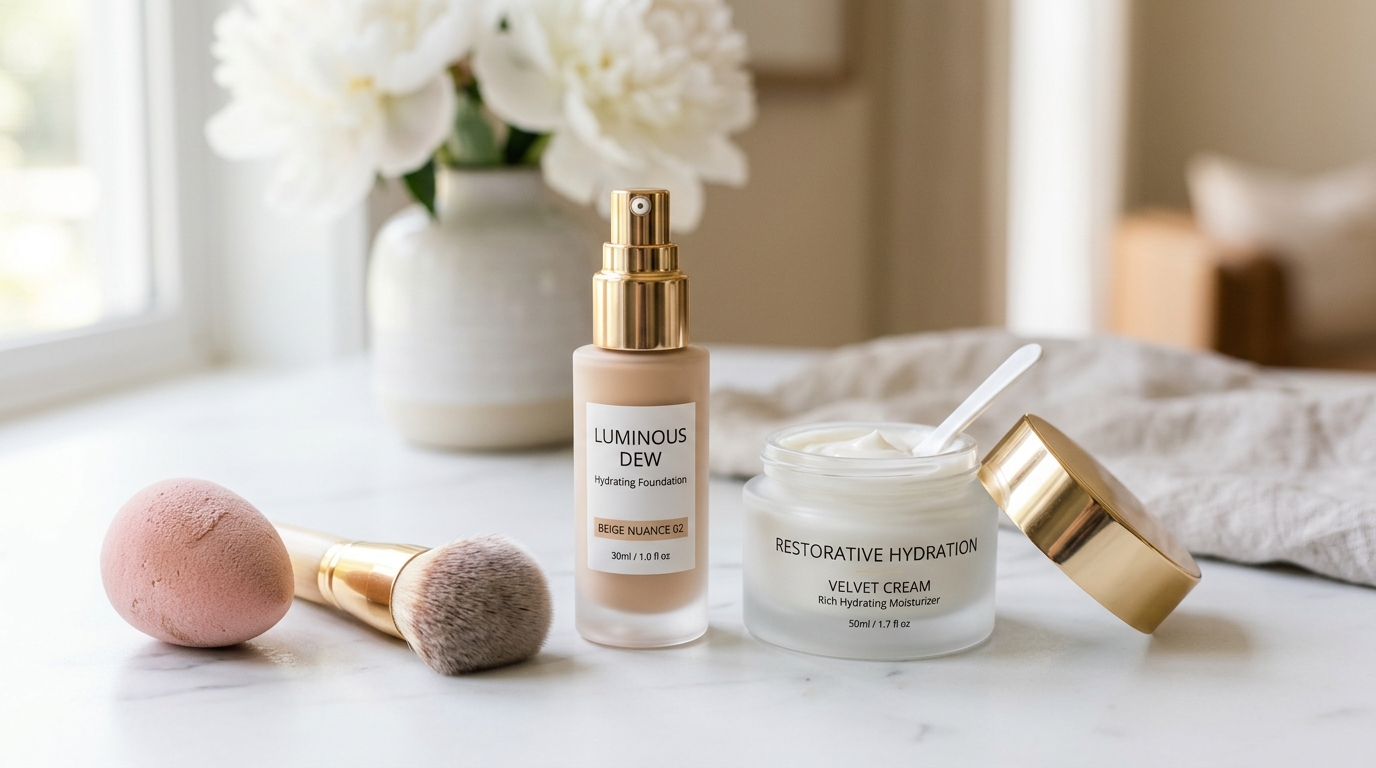
You have the right foundation. You have the right skincare. And yet — by 11am, it has settled into every dry patch, turned patchy across your cheeks, and made the fine lines around your mouth look twice as deep as they actually are.
This is the most common complaint from people with dry skin, and it almost never comes down to the foundation itself. It comes down to application. Dry skin behaves differently from oily skin during application, and the techniques that work for combination or oily skin — sweeping with a brush, setting with powder, applying to damp skin — actively work against dry skin.
The honest answer is that flawless foundation on dry skin comes down to three things: thorough hydration prep, the right tool (a damp sponge, not a brush), and thin buildable layers instead of one heavy application. Change nothing else and you will see the difference immediately.
This guide walks through every step — prep, primer, tool, technique, setting, and mid-day fixes — so you can stop fighting your foundation and start wearing it comfortably.
The 7-step method for dry skin: (1) Hydrate with serum + rich moisturiser, (2) wait 5–10 minutes, (3) apply a hydrating primer, (4) use a damp makeup sponge, (5) press — don't sweep — foundation in thin layers, (6) skip powder on dry areas, (7) set with a hydrating spray.
Key Takeaway
Caking and flaking on dry skin are almost always application problems, not foundation problems. A damp sponge, thin layers, and skipping powder solve most issues. If flakes still appear mid-day, press moisturiser into the area — never add more foundation.
Why Foundation Behaves Differently on Dry Skin
Before changing your technique, it helps to understand why dry skin reacts to foundation the way it does. Three things are happening at once:
- Flaky surface texture. Dry skin has microscopic flakes on the surface. Foundation pigment catches on these flakes, which is why dry patches look more obvious after foundation than before.
- Reduced oil for "grip." Foundation adheres to skin partly through the skin's natural oils. Dry skin produces less oil, so foundation has less to hold on to — which is why it slides, separates, or dries down unevenly.
- Less "bounce." Hydrated skin has more elasticity and moves with foundation. Dry skin is stiffer, so foundation sits on top rather than flexing with facial movement — which is why it settles into fine lines around the mouth and eyes.
None of these are problems with the foundation itself. They are all things your application technique can work around — or, if you get it wrong, make worse.
What You'll Need
You do not need expensive products to apply foundation well on dry skin, but you do need the right categories. Here is the shortlist:
| Category | What to Look For | Examples |
|---|---|---|
| Hydrating cleanser | Cream or milk texture; no foaming surfactants | CeraVe Hydrating Cleanser, La Roche-Posay Toleriane |
| Hydrating serum | Hyaluronic acid, glycerin, panthenol | The Ordinary Hyaluronic Acid 2% + B5 |
| Rich moisturiser | Ceramides, squalane, shea butter | Dr. Jart+ Ceramidin Cream, Kiehl's Ultra Facial Cream |
| Hydrating primer | Squalane, glycerin, hyaluronic acid — never mattifying | Bobbi Brown Vitamin Enriched Face Base, Laura Mercier Pure Canvas Hydrating |
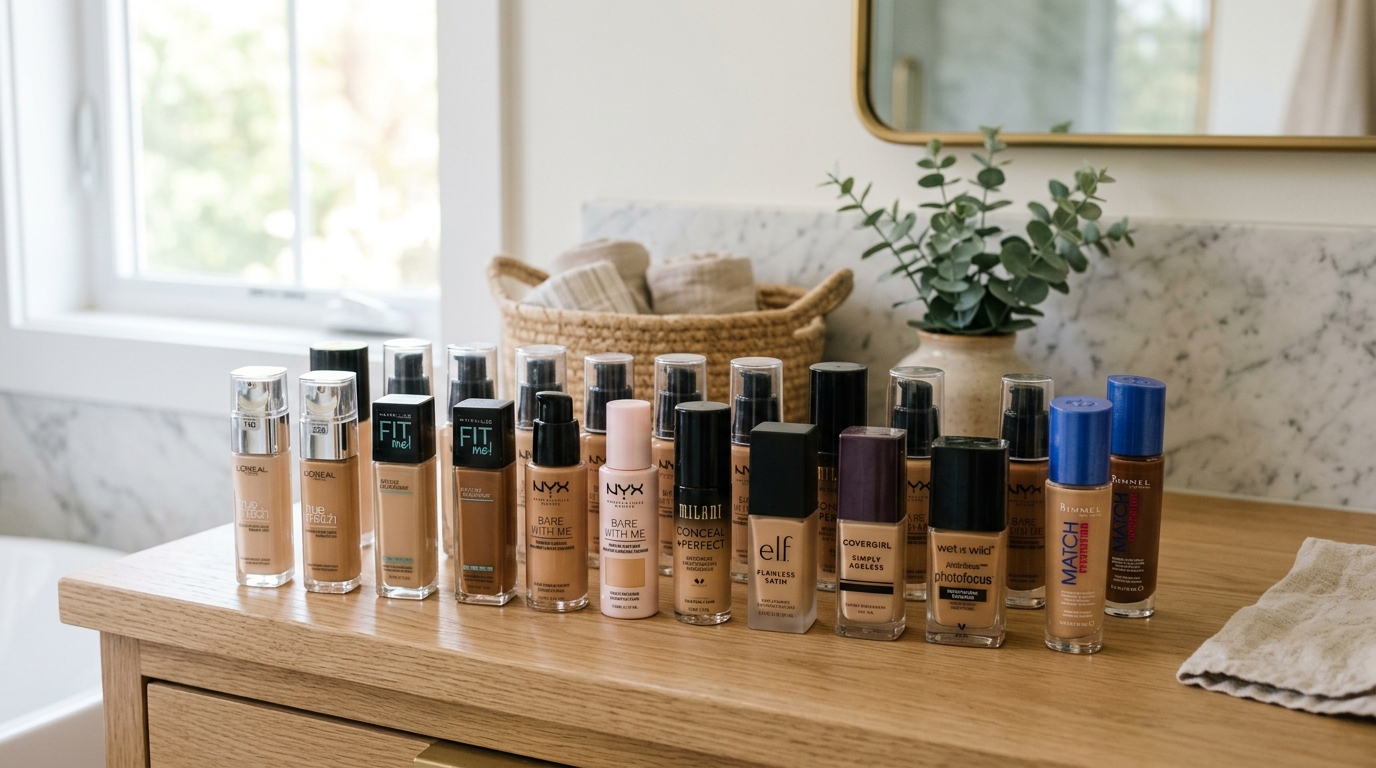
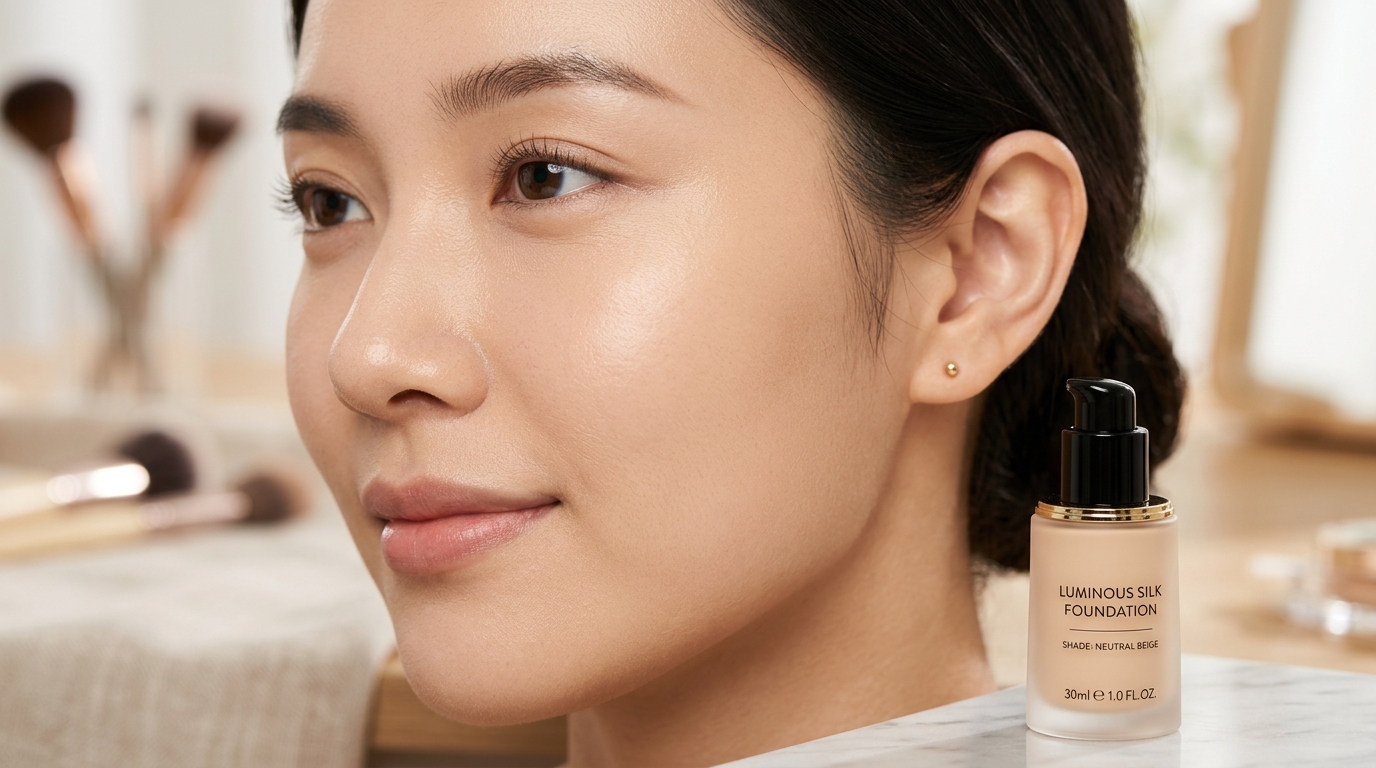
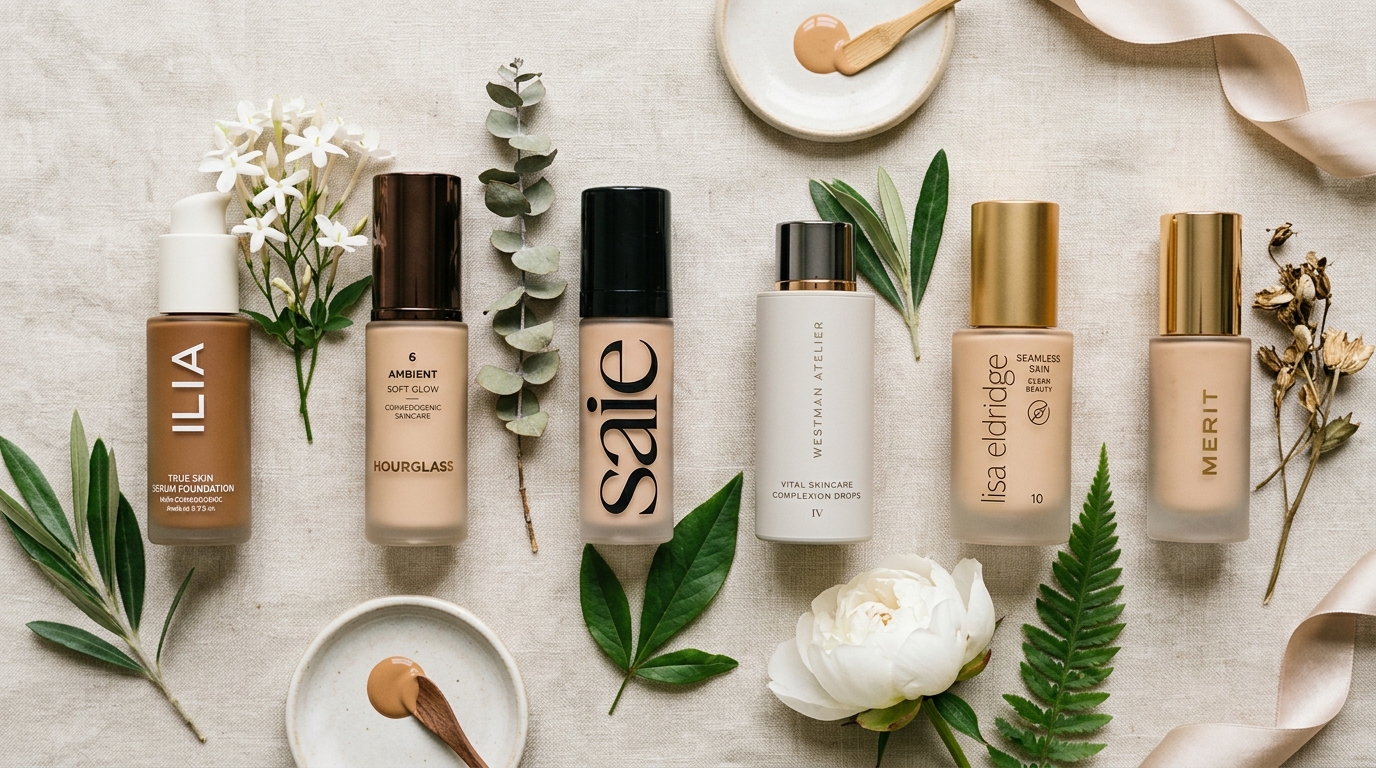
| Foundation | Dewy, radiant, or satin finish; buildable coverage | Armani Luminous Silk, L'Oréal True Match Nude Serum |
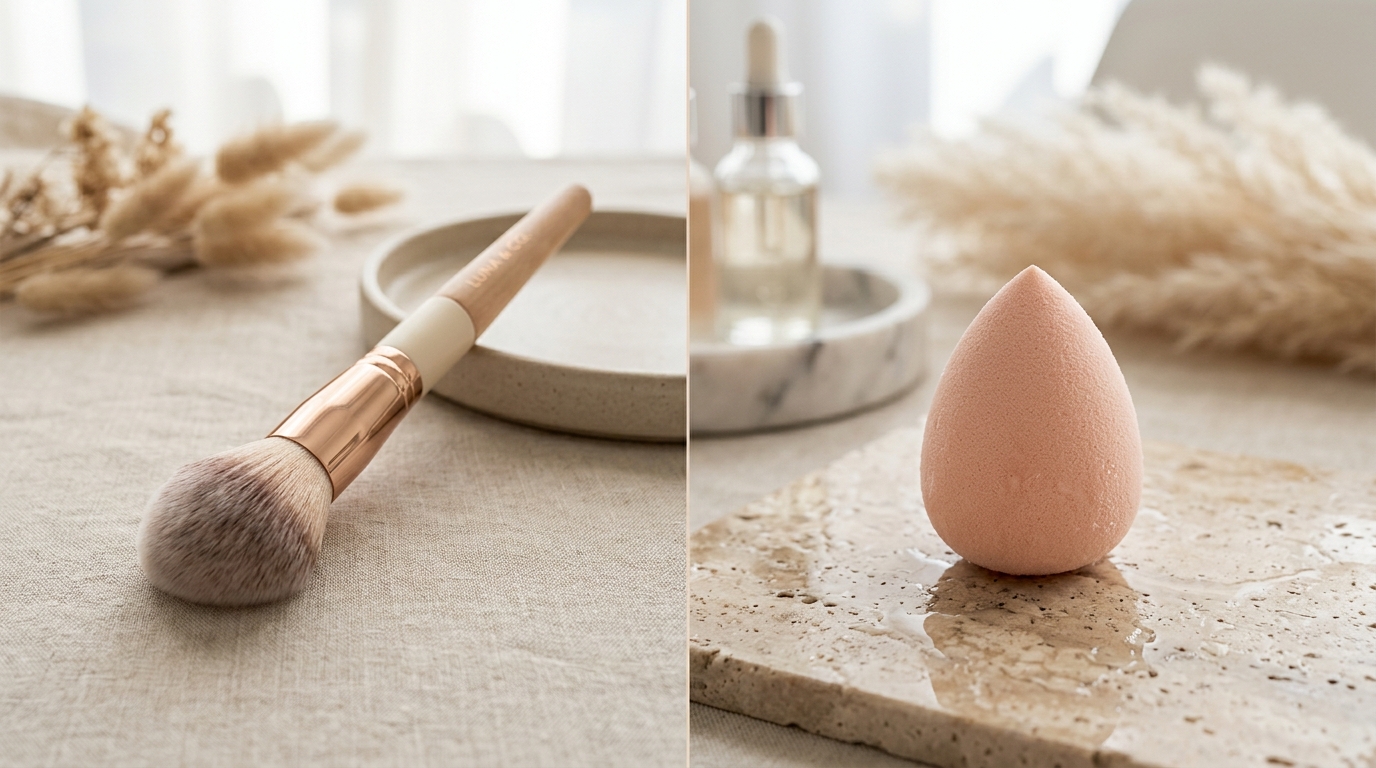
| Damp makeup sponge | Soft latex-free sponge, squeezed of excess water | Beautyblender, Real Techniques Miracle Complexion Sponge |
| Hydrating setting spray | Glycerin, aloe, no alcohol | MAC Fix+, Tatcha Luminous Dewy Skin Mist |
If you already own a foundation you like, keep it. This method works with almost any hydrating formula — the difference comes from how you apply it, not what you buy.
Step-by-Step: How to Apply Foundation on Dry Skin
Follow these steps in order. Each one builds on the previous, and skipping any of them will make the ones after it harder. Total time: about 10–12 minutes from skincare to setting spray.
Prep with hydrating skincare — and wait
Cleanse with a cream or milk cleanser, then layer in this order:
- Hydrating toner or essence (optional, but helpful)
- Hyaluronic acid serum — press into damp skin
- Rich moisturiser — apply generously, especially on the cheeks and around the mouth
- Sunscreen — the last step of skincare
Then wait 5–10 minutes before applying foundation. This is not optional. If you apply foundation immediately after moisturiser, the products will not have settled, and you will get streaking, pilling, and uneven coverage.
Why this matters: Dry skin needs hydration underneath the foundation to look smooth. Foundation does not add moisture — it sits on top of whatever is already there. If the layer beneath is dry, the foundation will be too.
Apply a hydrating primer (never mattifying)
Press — don't rub — a hydrating primer into your skin, focusing on the areas that tend to flake: cheeks, chin, around the nose, and between the eyebrows. Wait 2 minutes before moving on.
If you have very dry skin, apply a slightly thicker layer. If you have combination dry skin, focus the primer on the dry areas and use a lighter hand on the T-zone.
Why this matters: A hydrating primer creates a smooth, moist canvas that helps foundation glide on evenly. Mattifying or pore-filling primers do the opposite — they dry out the surface and cause foundation to catch on flakes.
Warm foundation on the back of your hand
Dispense a pea-sized amount onto the back of your hand. Warm it slightly by pressing it with your fingertip for a few seconds. This makes the formula easier to spread and helps it melt into the skin rather than sit on top.
If your foundation feels dry or thick, this is the moment to mix in a single drop of hydrating serum or face oil. Mix only what you will use in one sitting.
Why this matters: Warming the product makes the texture more pliable and improves spreadability on dry skin. It also prevents you from pumping out too much product at once — a common cause of caking.
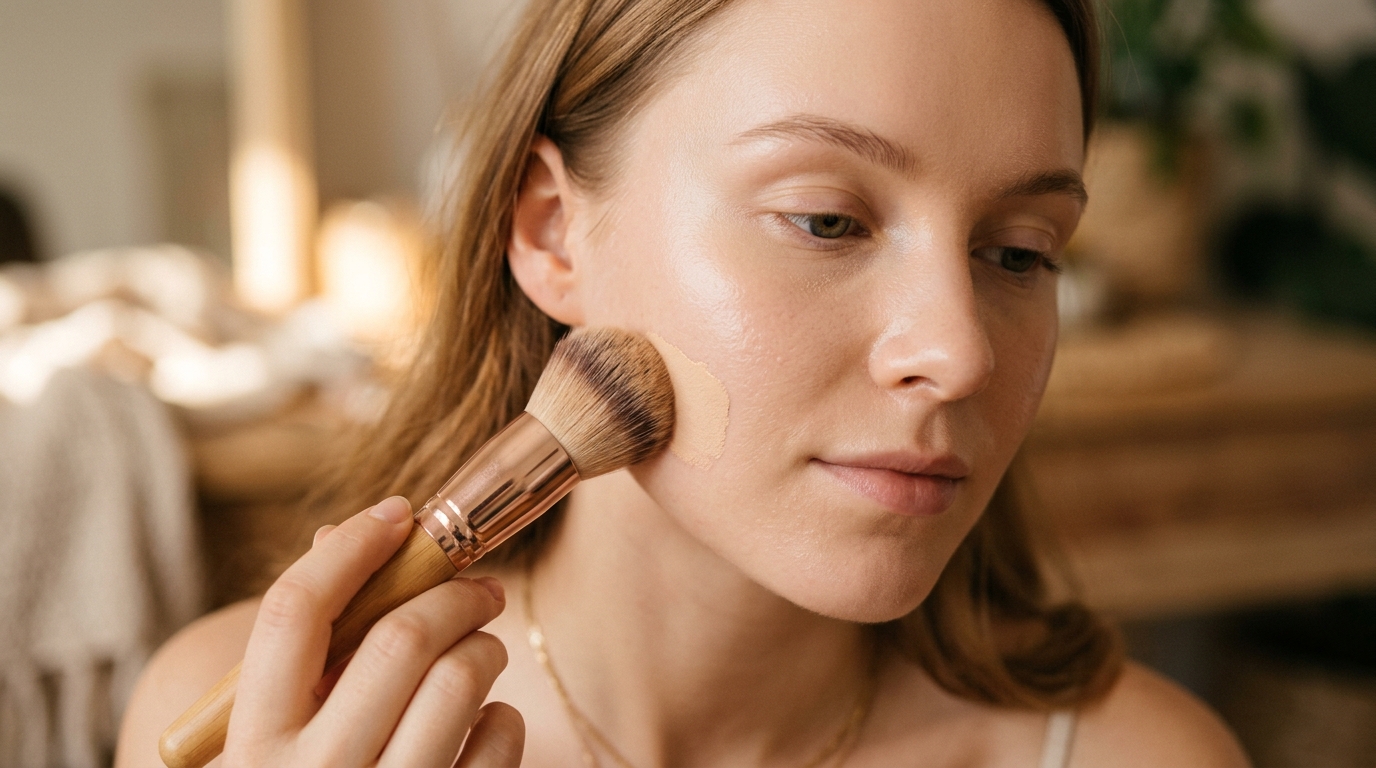
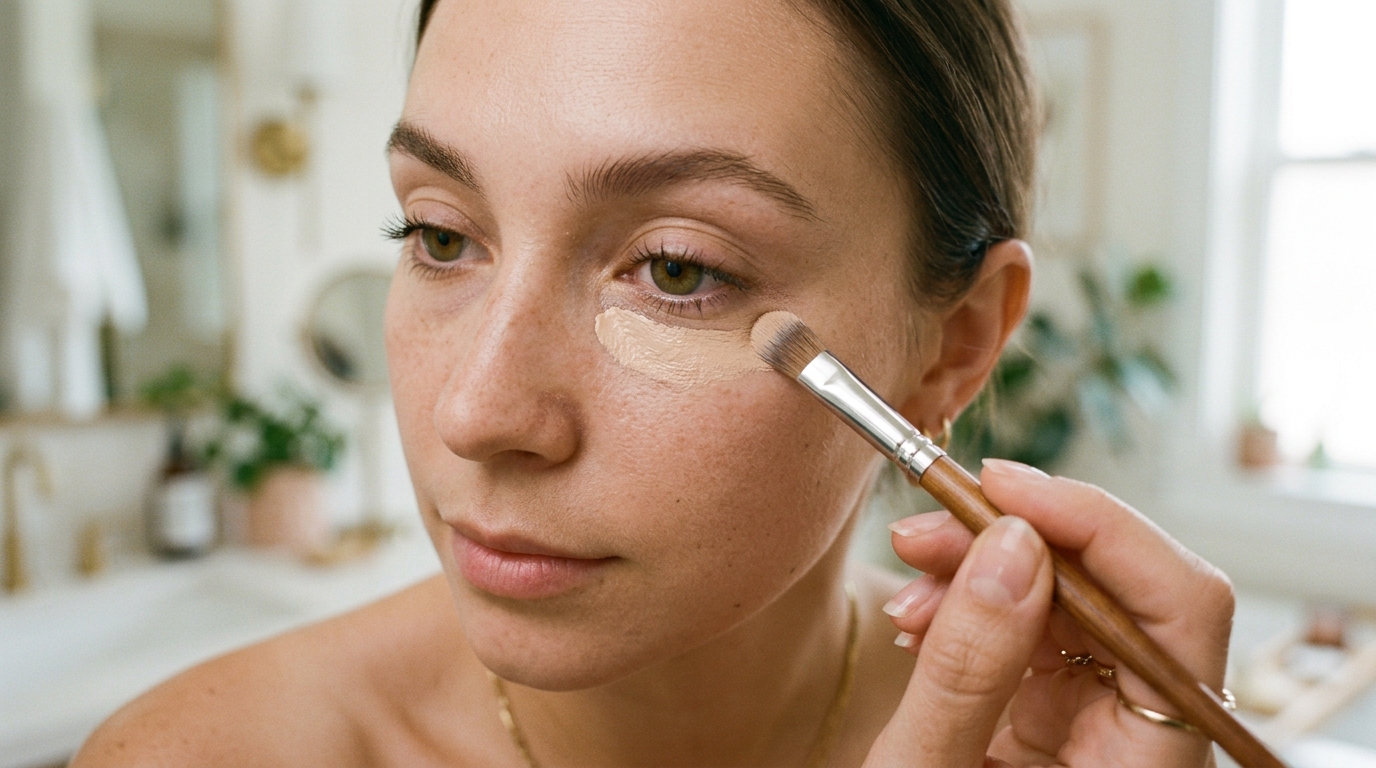
Use a damp sponge — not a brush, not your fingers
Soak a makeup sponge in water, then squeeze it out completely until it is damp — not wet. If it drips, it is too wet.
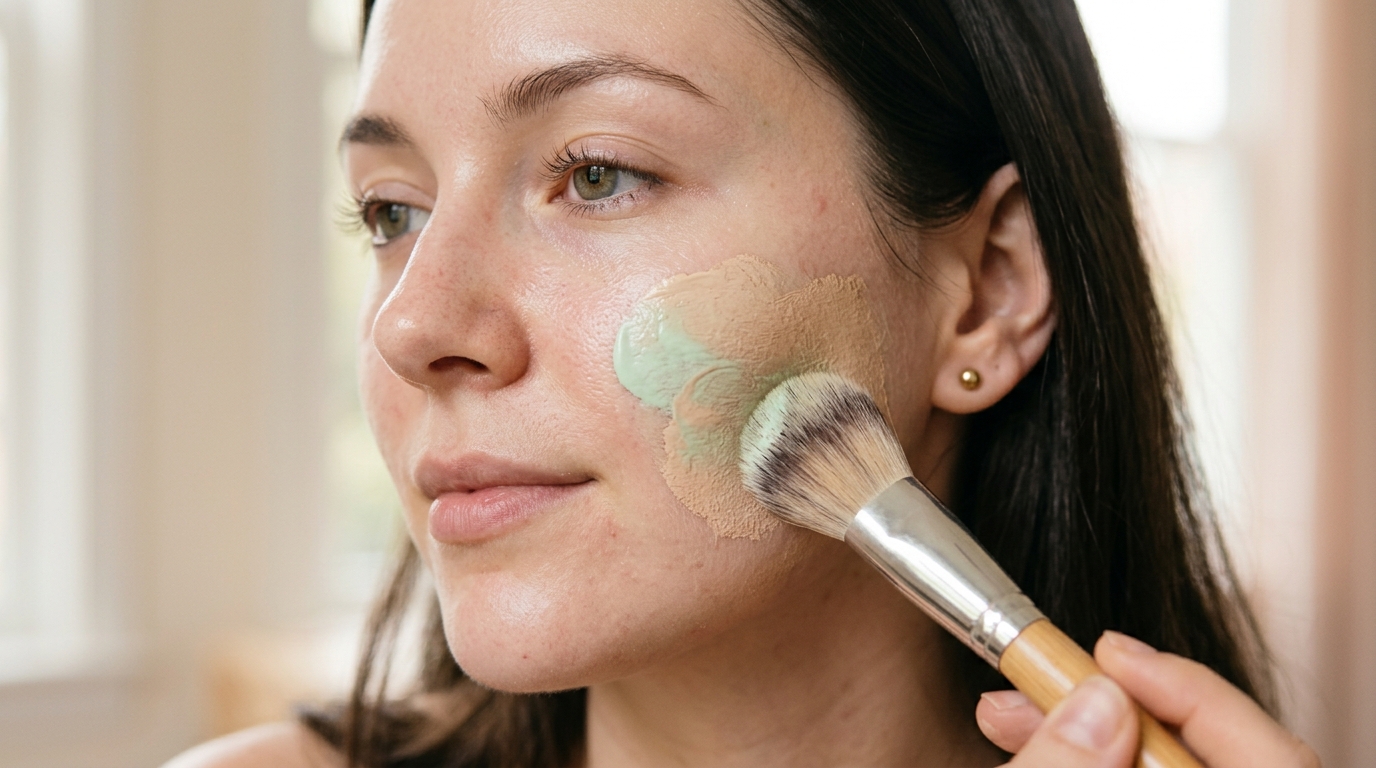
Brushes sweep product across the skin, which disturbs flakes and creates streaks. Fingers can work in a pinch but tend to apply product unevenly. A damp sponge presses foundation into the skin with gentle bouncing motions and gives the smoothest result on dry skin.
Why this matters: The damp sponge does two things — it thins the foundation as you press it in (which prevents heavy coverage that cakes), and it presses pigment into the skin rather than dragging across flakes.
Press — don't sweep — starting at the centre
Start at the centre of your face (nose, between brows, inner cheeks) and work outward in gentle bouncing motions. Use a light hand — you are pressing product into the skin, not rubbing it across.
Do not drag the sponge across dry patches. Press straight down, lift, and move to the next area. Dragging is what causes streaking and highlights flaking.
Why this matters: The centre of the face usually needs more coverage than the perimeter. Working outward lets you build coverage where it is needed and leave the edges of the face lighter, which looks more natural.
Build in thin layers — never one heavy application
After the first thin layer, let it settle for 30 seconds. Then decide whether you need more coverage. If you do, apply a second thin layer only where needed — typically the cheeks, chin, or any redness.
Repeat once more if necessary. But stop at three thin layers. If you need more coverage than that, the foundation is not the right one for your skin — switching formulas will work better than layering more product.
Why this matters: One heavy application sits on top of the skin and settles into every crease. Thin layers melt into each other and look like skin. This is the single biggest difference between cakey and flawless foundation on dry skin.
Skip powder on dry areas (or use the tiniest amount)
Powder is the number one cause of caking on dry skin. It absorbs moisture, settles into flakes, and creates a flat, dry-looking finish. Skip it entirely on dry areas.
If you have a combination skin type with a slightly oilier T-zone, use a small amount of finely milled powder only on the forehead, nose, and chin — never on the cheeks or around the mouth.
Why this matters: Dry skin does not produce enough oil to "melt" powder into the skin. Instead of setting the foundation, powder sits on the surface and separates as the day goes on.
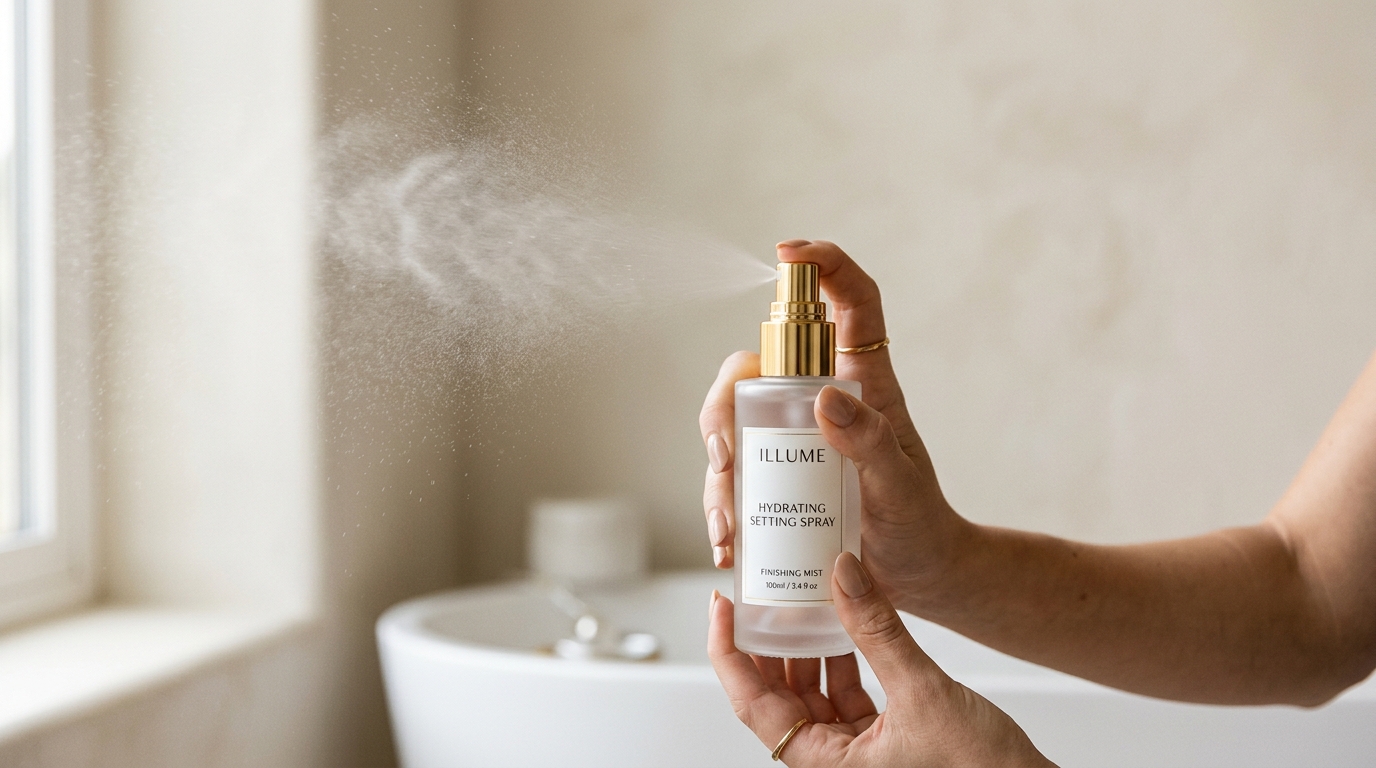
Set with a hydrating spray, not powder
Mist a hydrating setting spray over the face from about 8–10 inches away. Let it air-dry — do not press or blot it. The spray helps the layers of skincare and makeup melt together and gives the finish a soft, hydrated look.
Look for formulas that list glycerin or aloe near the top and do not list alcohol or denatured alcohol in the first five ingredients.
Why this matters: A hydrating setting spray replaces the function of powder (setting the makeup) without drying out the skin. It also softens any visible powder from step 7 and helps the foundation wear longer.
Troubleshooting: Common Problems and Fixes
Even with good technique, things can go wrong. Here is how to fix the four most common dry-skin foundation problems.
| Problem | Most Likely Cause | Fix |
|---|---|---|
| Foundation clings to dry patches | Skin not hydrated enough underneath | Add a hydrating serum before moisturiser; wait longer before applying foundation; use a richer moisturiser on those areas |
| Foundation looks cakey by midday | Too much product or powder setting | Use less foundation (thin layers); skip powder entirely; set with hydrating spray instead |
| Foundation settles into fine lines | Formula too matte, or too much product around the mouth and eyes | Switch to a more flexible serum or cream formula; use a smaller amount around the mouth and eyes; press gently with a damp sponge to blend |
| Foundation separates or looks patchy | Mixing water-based and silicone-based products, or not waiting between layers | Match bases (water-based primer with water-based foundation); wait 2–3 minutes between skincare, primer and foundation |
Mid-Day Fixes (Without Ruining Your Base)
Even with perfect application, dry skin can start to show through after 6–8 hours. The trick is to fix it without adding more foundation — which will only make the problem worse. Here is what to do:
- If a dry patch appears: Press a small amount of moisturiser into the area with a damp sponge. Do not rub. The moisturiser will rehydrate the skin and blend the foundation underneath without lifting it.
- If foundation has settled into lines: Use a clean damp sponge to gently press over the area — do not wipe. The moisture in the sponge will redistribute the product without adding more.
- If foundation has separated or looks patchy: Mist with a hydrating setting spray and press gently with a clean damp sponge. Avoid adding powder.
- If your face looks dull: Mist with a hydrating setting spray — this "wakes up" the finish without adding product.
The golden rule: never fix dry skin by adding more foundation. Always fix it by adding moisture.
Do
- Wait 5–10 minutes after skincare before foundation
- Use a damp sponge and press, don't sweep
- Build in thin layers rather than one heavy application
- Skip powder on dry areas
- Set with a hydrating spray
Don't
- Apply to damp skin after skincare
- Sweep with a brush across dry patches
- Layer on more foundation to fix flaking
- Use mattifying primer or powder
- Rush the layers — waiting matters
Common Mistakes to Avoid
- Applying to damp skin. Damp skin refers to the sponge, not your face. If your skin is still wet from skincare, foundation will streak and separate.
- Using a brush on dry patches. Brushes sweep product across the surface, which disturbs flakes and creates patchiness.
- Setting with powder. Powder is drying and settles into flakes. Skip it or use the absolute minimum on the T-zone only.
- Adding more foundation over flakes. This makes the problem worse. Always fix flakes with moisturiser, never more foundation.
- Using the same products year-round. Dry skin needs a richer moisturiser and primer in winter and a lighter one in summer. Adjust seasonally.
- Exfoliating right before makeup. Exfoliation can leave the skin temporarily more sensitive and flaky. Do it the night before, not the morning of.
- Skipping the setting spray. A hydrating setting spray is what makes the finish look "finished" — skipping it leaves the base looking powdery and dry.
Frequently Asked Questions
Why does foundation look cakey on dry skin?
Foundation looks cakey on dry skin because dry, flaky texture catches pigment and heavier formulas sit on top of the skin instead of melting into it. Mattifying formulas, too much product, and powder can all make caking worse.
Should I apply foundation with a brush or a sponge on dry skin?
A damp makeup sponge is generally better for dry skin because it presses product into the skin gently without disturbing flaky areas. Brushes can sweep over dry patches and create streaks.
Should I use a primer on dry skin?
Yes. A hydrating primer creates a smooth, moisturised base that helps foundation glide on evenly and prevents it from settling into dry patches. Avoid mattifying or pore-filling primers.
Should I powder my face if I have dry skin?
Generally, no. Powder absorbs moisture and can settle into flakes. If you need to reduce shine, use a small amount of finely milled powder only on the T-zone, or skip powder entirely and use a hydrating setting spray.
How do I stop foundation from settling into fine lines?
Prep the skin with hydrating skincare, choose a flexible serum or cream foundation, apply in thin layers with a damp sponge, and avoid powder on areas with fine lines. Pressing the foundation in rather than sweeping it helps prevent settling.
Should I apply foundation to damp or dry skin?
Apply foundation to dry skin after skincare has settled for 5–10 minutes. Applying to damp skin can cause streaking and uneven coverage, though a damp sponge is fine — the skin itself should be dry.
Can I mix foundation with moisturiser for dry skin?
Yes. Mixing foundation with a small amount of moisturiser or hydrating serum can make it glide more smoothly and feel more comfortable on dry skin. It also sheers out the coverage slightly.
How much foundation should I use on dry skin?
Start with a pea-sized amount for the entire face and build only where needed. Using too much foundation at once is one of the most common causes of caking on dry skin.
The Bottom Line
Flawless foundation on dry skin is not about finding the perfect product — it is about the technique you use every single day. The same foundation that looks cakey on Monday can look like second skin on Tuesday if you change three things:
- Hydrate properly before you start. Serum, moisturiser, and a full 5–10 minutes to settle.
- Use a damp sponge, not a brush. Press, don't sweep. Build in thin layers.
- Skip the powder and set with a hydrating spray. Powder is what makes dry skin look dry.
Everything else — the specific serum, the specific foundation, the specific primer — is secondary. Get the technique right first and you will be surprised how many "bad" products suddenly start working.
For a full breakdown of the best hydrating formulas, shade ranges, and price points, see our pillar guide: Best Foundation for Dry Skin.
References & Sources
- Vogue — expert application tips for foundation on dry skin, including layering and settling time.
- The Strategist — makeup artist interviews on hydrating foundation techniques.
- Paula's Choice — guidance on finishes and formulas for dry skin.
- Aggregated user techniques from r/MakeupAddiction, r/dryskin, and r/SkincareAddiction.
Was this article helpful?

Anam Ahsan
Skincare Enthusiast & BloggerHi, I'm Anam! I'm a beauty and skincare enthusiast who loves testing new products and sharing honest, personal reviews. I document my skincare journey and share what works for my skin so you can make better choices for your routine.

Comments (24)
Hannah W.
2 days agoThis guide saved me so much money — went with the budget pick and honestly can't tell the difference from serums twice the price!
Anam Ahsan Author
1 day agoSo glad it worked out for you, Hannah! That's exactly the kind of result we hoped readers would see.