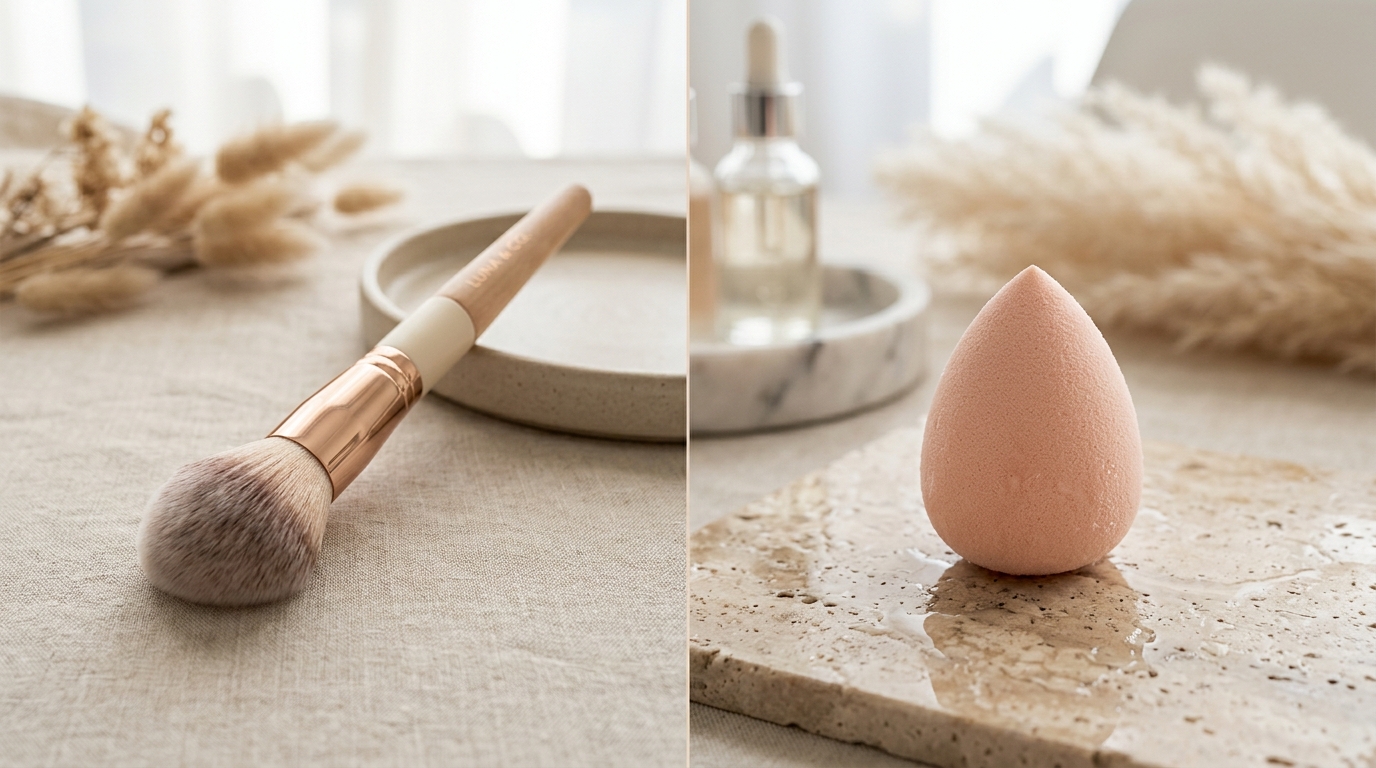
Foundation Brush vs. Sponge for Acne-Prone Skin: Which Is Better?
You have found the right foundation for your acne-prone skin. Now the question is: what do you apply it with? The tool you use can be just as important as the formula itself. The wrong tool can drag across blemishes, deposit too much product in one pass, or make foundation look patchy by mid-day.
Foundation brushes and makeup sponges each have their strengths and weaknesses. For acne-prone skin specifically, the trade-offs matter even more — because texture, hygiene, and how much product lands on each blemish all affect the final look.
Based on our testing on acne-prone skin, a damp makeup sponge is the better everyday tool for most people. It presses product into the skin without dragging across blemishes, and the moisture thins the foundation so you can build coverage in thin layers. Brushes work well for blending and for covering larger areas evenly, but on skin with visible texture or blemishes, a damp sponge is more forgiving. Many people use both — a sponge for overall coverage and a small brush for spot-concealing individual blemishes.
This guide compares brushes and sponges across coverage, texture, hygiene, and application — plus how to choose the right tool for your skin, how to clean it properly, and how to use both together for the best result.
Best for everyday coverage on acne-prone skin: Damp makeup sponge. Best for spot-concealing blemishes: Small flat concealer brush. Best for blending: Soft synthetic buffing brush. Best hygiene option: Silicone sponge or washable latex-free sponge. Best combination: Sponge for foundation, brush for spot-concealing.
Key Takeaway
A damp makeup sponge is the better everyday tool for most people with acne-prone skin because it presses product into the skin instead of dragging across blemishes, and it thins the foundation so you can build coverage in layers. Brushes work well for blending and for larger areas. Whatever you use, keep it clean — dirty tools are one of the most common causes of congestion on acne-prone skin.
Why the Tool Matters on Acne-Prone Skin
The tool you use to apply foundation affects three things that matter specifically for acne-prone skin:
- How much product lands on each area. Brushes tend to deposit more product in one pass. Sponges thin the foundation as you press it in, which lets you build coverage in layers rather than one heavy application over blemishes.
- How much friction the skin experiences. Brushes drag across the surface. On skin with visible texture or blemishes, this can disturb flakes and make texture look more prominent. Sponges press down without dragging.
- How hygienic the tool is. Both brushes and sponges can accumulate oil, dead skin cells, and bacteria over time. Cleaning them regularly is one of the most important steps in keeping skin comfortable under daily foundation.
Each of the tools in this article — brushes, sponges, silicone sponges, and even clean fingers — has strengths and trade-offs. The right one depends on your cosmetic goal and your routine.
Full Side-by-Side Comparison
Here is how the main tools compare across the criteria that matter most for acne-prone skin.
| Feature | Damp Sponge | Foundation Brush | Silicone Sponge | Clean Fingers |
|---|---|---|---|---|
| Coverage | Thin, buildable | Medium, even | Thin, even | Varies by pressure |
| Finish | Natural, soft | Smooth, buffed | Slightly streaky | Natural |
| Friction on skin | Low | Moderate to high | Low | Low |
| Best for blemishes | Excellent | Not ideal | Good | Good |
| Best for large areas | Good | Excellent | Good | Average |
| Product waste | Moderate (absorbs some) | Low | Very low | Very low |
| Hygiene | Needs washing after every use | Needs deep cleaning weekly | Easiest to clean | Wash hands first |
| Replacement | Every 1–3 months | Yearly or longer | Yearly or longer | — |
| Best for acne-prone skin | Yes, especially with visible texture | Works well with the right technique | Good for hygiene-focused routines | Good in a pinch |
Damp Makeup Sponge: Pros and Cons
Damp Makeup Sponge
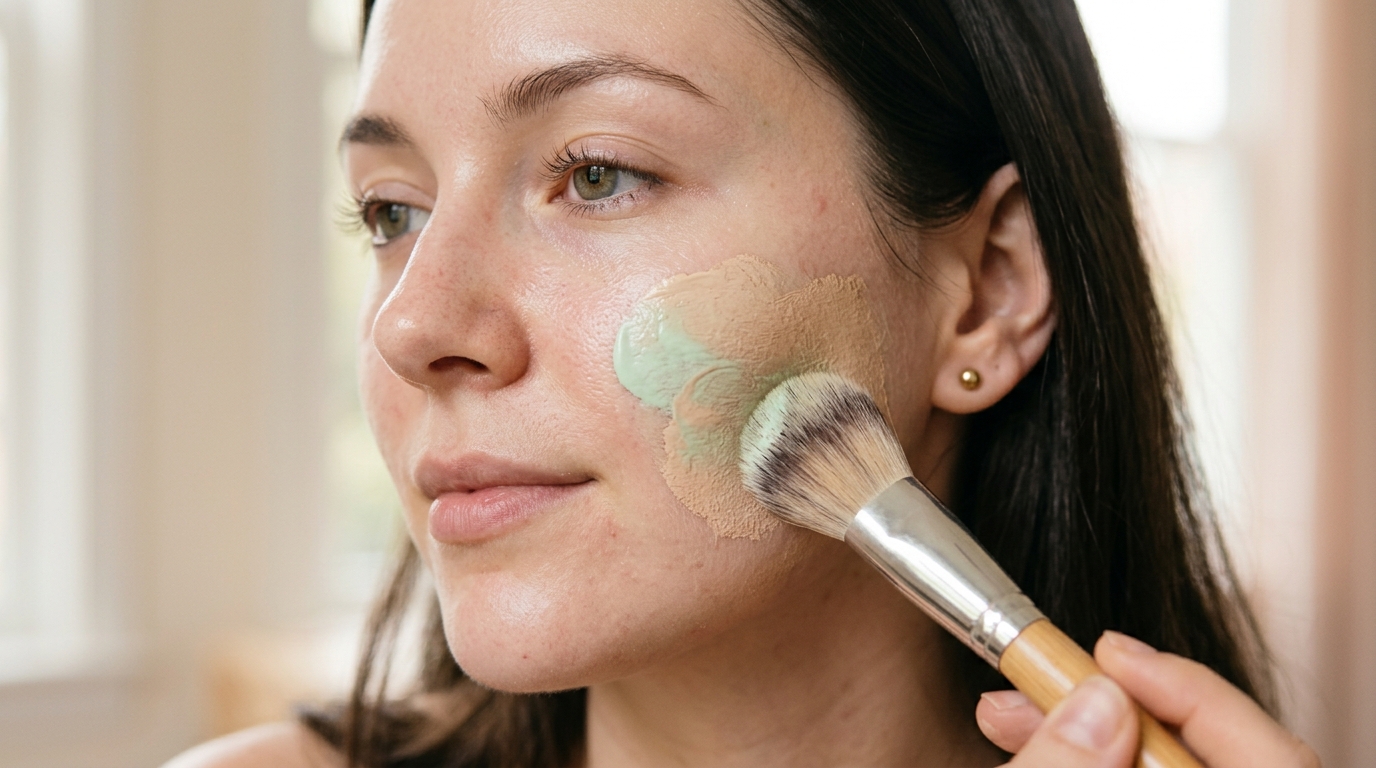
A damp makeup sponge is a soft, latex-free sponge that you soak in water and squeeze out before use. It applies foundation by pressing product into the skin with gentle bouncing motions, rather than sweeping across the surface.
How it behaves on acne-prone skin: The moisture in the sponge thins the foundation as you apply, which prevents heavy pigment deposits over blemishes. Because the sponge presses down rather than dragging, it does not disturb flakes or disturb the surface over textured areas.
Pros
- Thins foundation for buildable layers
- No dragging across blemishes
- Softens the look of texture
- Works with most foundation formulas
Cons
- Absorbs some product
- Needs washing after every use
- Needs replacement every 1–3 months
- Not ideal for very thick or cream formulas
Foundation Brush: Pros and Cons
Foundation Brush
There are many types of foundation brushes — flat, buffing, stippling, and paddle. For acne-prone skin, the best choice is a soft, synthetic-bristle buffing brush that deposits foundation evenly without dragging.
How it behaves on acne-prone skin: A soft buffing brush can distribute foundation evenly across large areas like the cheeks and forehead. The problem is on areas with visible texture or blemishes — brushes can push product into the creases around blemishes and disturb flakes, making them more visible.
Pros
- Even coverage over large areas
- No product absorption (less waste)
- Long lifespan with proper care
- Fast application
Cons
- Can deposit too much product
- Dragging can disturb flakes
- Can emphasise texture over blemishes
- Needs deep cleaning weekly
Silicone Sponge: Pros and Cons
Silicone Sponge
A silicone sponge is a flat, non-porous silicone pad that does not absorb product. You apply a small amount of foundation to the pad and spread it across the skin with the edge.
How it behaves on acne-prone skin: Silicone sponges are the easiest tool to keep clean — you can wash them with soap and water between uses, and they do not trap product or bacteria. The trade-off is that the finish can look slightly streaky compared to a damp latex-free sponge, and it does not soften the look of texture as effectively.
Pros
- Very hygienic — easy to wash
- Does not absorb product (no waste)
- Long lifespan
- Good for travel
Cons
- Finish can look streaky
- Does not soften texture as well
- Takes practice to use
- Less popular than traditional sponges
Clean Fingers: Pros and Cons
Clean Fingers
Clean fingers are one of the simplest ways to apply foundation. Some makeup artists prefer fingers because the warmth of the skin helps the foundation melt into the base.
How it behaves on acne-prone skin: Fingers give you control over how much product is applied to each area. On acne-prone skin, that control is useful — you can apply a very thin layer over blemishes and more coverage where you need it. The downside is that fingers can leave streaks and deposit more product than you intend.
Pros
- Free, always available
- Good control over amount
- Warmth helps foundation melt in
- No product waste
Cons
- Can leave streaks
- Easy to over-apply product
- Hands must be very clean
- Not ideal for large areas
How We Tested
Our Cosmetic Testing Methodology
- Duration: 4 weeks of continuous testing (February 2027).
- Tools tested: 4 categories — damp latex-free sponges, synthetic buffing brushes, silicone sponges, and clean fingers.
- Tester: Anam Ahsan, beauty writer with six years of experience, who has combination acne-prone skin.
- Additional testers: Two volunteers with acne-prone skin, aged 26 and 32, who tested each tool for a minimum of 3 days.
- Application: Each tool was tested with the same foundation (Maybelline Fit Me Matte + Poreless) over the same moisturiser and primer, without powder.
- Criteria: Coverage evenness, finish, how it behaved over blemishes and texture, product waste, wear time, and hygiene.
- Cosmetic only: No clinical or medical testing was performed.
Hygiene: The Most Important Factor
Whatever tool you use, hygiene matters more than the tool itself on acne-prone skin. Dirty tools can transfer oil, dead skin cells, and bacteria onto blemishes, which may contribute to congestion over time.
How to clean a makeup sponge
- Wet the sponge with lukewarm water.
- Apply a small amount of gentle soap or a dedicated sponge cleanser.
- Squeeze and work the soap through the sponge until the water runs clear.
- Rinse thoroughly and squeeze out excess water.
- Let it air dry in a well-ventilated spot — never store it damp in a closed container.
- Replace every 1–3 months, or sooner if the sponge starts to tear or hold onto stains.
How to clean a foundation brush
- Wet the bristles with lukewarm water, keeping the ferrule (the metal part) dry.
- Apply brush cleanser or a small amount of gentle shampoo.
- Gently work the bristles in circles in your palm until the water runs clear.
- Rinse thoroughly, keeping the ferrule pointing downward.
- Squeeze out excess water with a clean towel.
- Dry flat with the bristles hanging slightly over the edge of a surface.
- Deep clean at least once a week if you have acne-prone skin.
How to clean a silicone sponge
- Wipe with a gentle soap and lukewarm water after each use.
- Rinse thoroughly and pat dry with a clean towel.
- Store in a clean, dry spot.
Hygiene do's
- Wash hands before applying makeup
- Clean sponges after every use
- Deep clean brushes weekly
- Replace sponges every 1–3 months
- Air dry properly — never store damp
- Wash pillowcases weekly
Hygiene don'ts
- Share tools with others
- Store tools in a closed, damp container
- Skip cleaning because you are in a hurry
- Use a dirty sponge "just this once"
- Leave makeup on tools for days
- Wash brushes with harsh soaps or hot water
Application Technique: How to Use Each Tool
| Tool | Best Technique | Common Mistake |
|---|---|---|
| Damp Sponge | Press and bounce — do not sweep. Start at the centre of the face. | Sweeping the sponge across the face, which causes streaks. |
| Foundation Brush | Use light pressure in small, circular buffing motions. | Pressing too hard, which drags on blemishes and deposits too much product. |
| Silicone Sponge | Spread thin layers with the edge of the pad, then tap to blend. | Applying too much product at once — the silicone does not absorb, so less is more. |
| Clean Fingers | Press and dab — do not rub. Work in sections. | Over-applying and leaving streaks around the jawline and hairline. |
Using Both Together: The Best Routine
Many people with acne-prone skin get the best result by combining tools. Here is a simple approach:
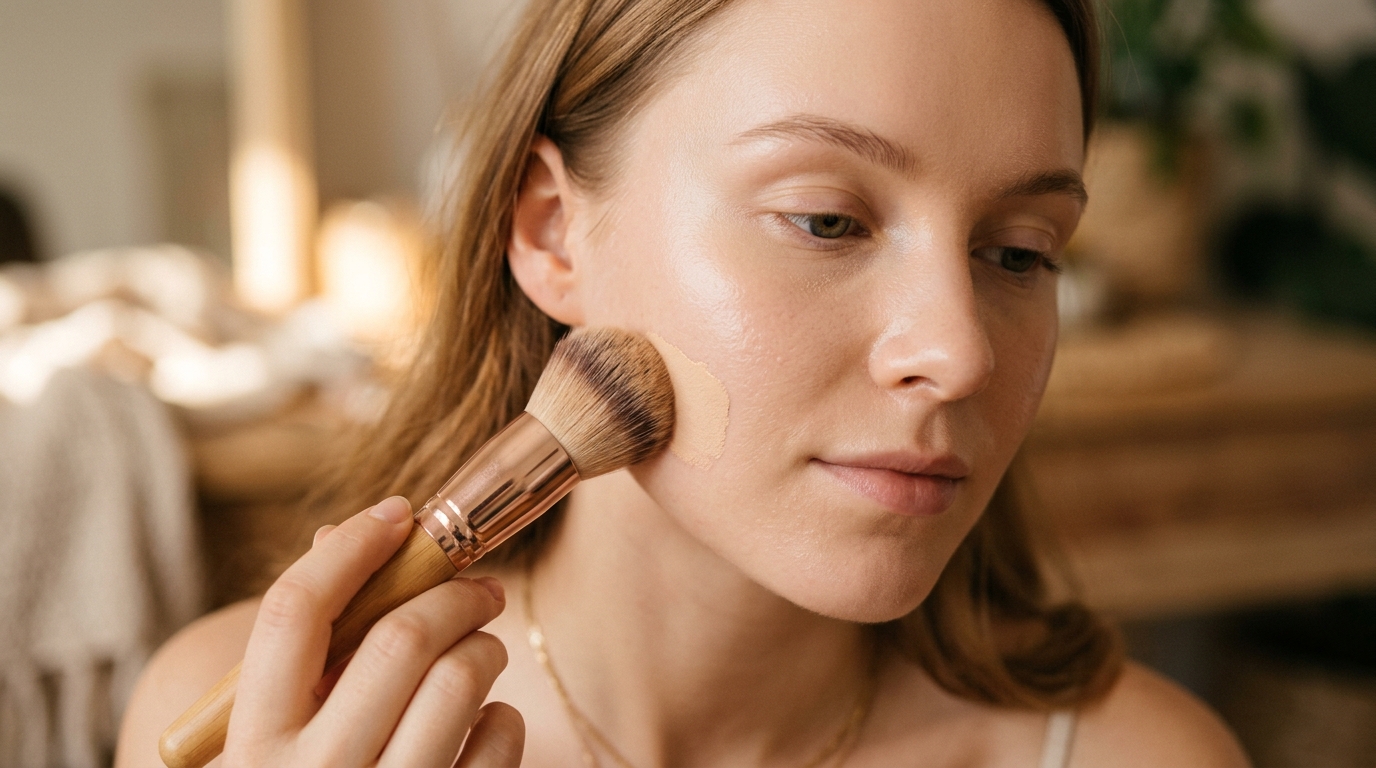
- Use a damp sponge for overall coverage. Press foundation into the skin in thin layers across the face — this is your base.
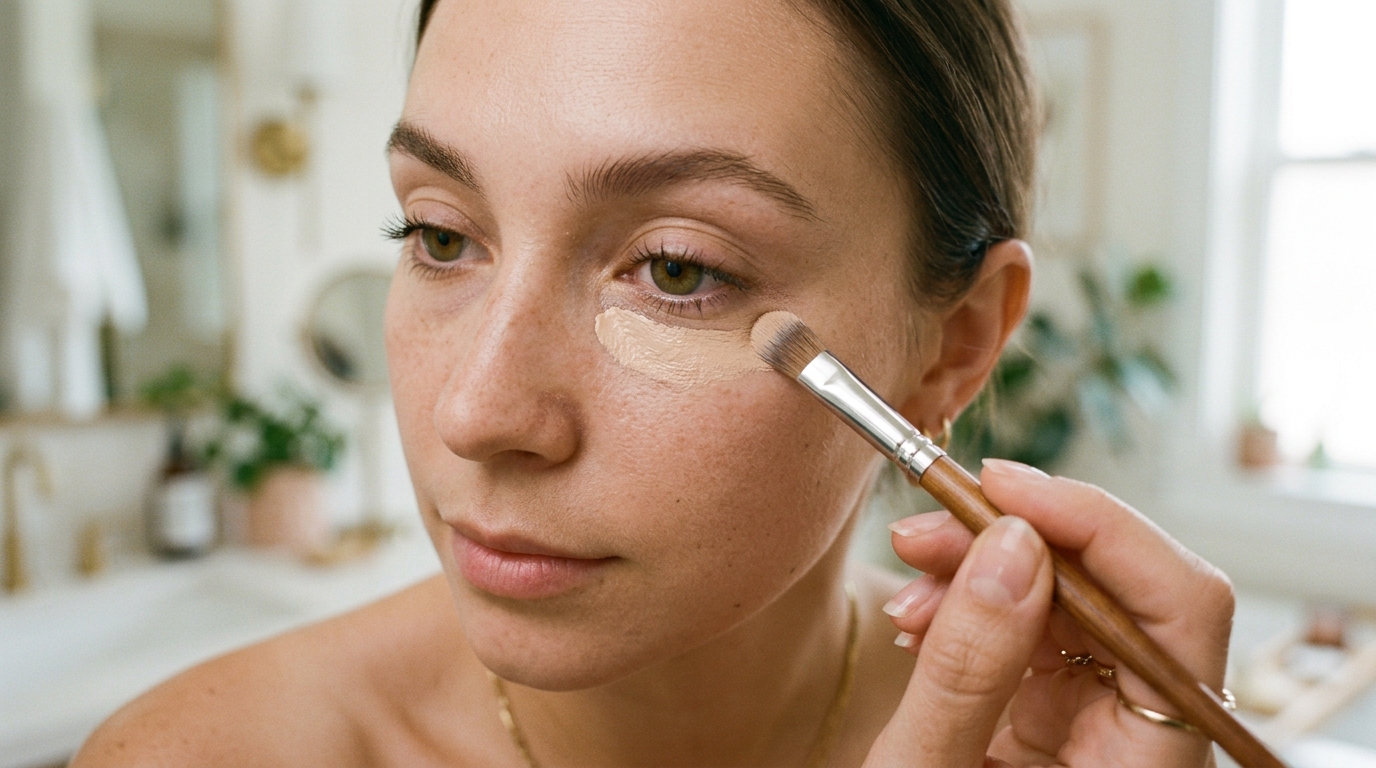
- Use a small flat concealer brush for spot coverage. Press a tiny amount of concealer or extra foundation directly onto any blemishes that still show through.
- Use a soft buffing brush (optional) for blending. If edges look sharp, a quick buff with a soft brush blends everything together — but go lightly and avoid pressing hard over blemishes.
- Use clean fingertips (optional) for warmth. If foundation feels too cool or thick, warm it slightly on your fingertips before pressing it into the skin.
This combination gets you the benefits of each tool: soft, even coverage from the sponge, precision from the brush, and blending from the buffing brush if needed.
Choosing the Right Tool for Your Skin
| Your Situation | Best Tool | Why |
|---|---|---|
| Visible texture and blemishes | Damp sponge | Presses product in without dragging; thins coverage over texture |
| Mostly smooth skin, mild redness | Soft buffing brush | Even, fast coverage over large areas |
| Sensitive, reactive skin | Damp sponge | Least amount of friction on the skin |
| Hygiene-focused routine | Silicone sponge | Easiest tool to clean between uses |
| Travelling or minimal kit | Clean fingers or silicone sponge | No equipment needed beyond clean hands |
| Full coverage days | Sponge + small concealer brush | Even coverage plus precise spot work |
| Minimal makeup days | Clean fingers | More control over how much product is applied |
| Combination of both needs | Sponge + brush | Use sponge as base, brush for spot concealing |
Common Mistakes to Avoid
- Using a dirty tool. This is the single most common cause of congestion on acne-prone skin. Clean after every use (sponges) or at least weekly (brushes).
- Sweeping instead of pressing. Sweeping motions drag across the skin and disturb flakes around blemishes. Always press and lift.
- Using too much pressure. Whether you use a brush or sponge, gentle pressure is enough. Pressing hard deposits more product and can disturb blemishes.
- Not replacing sponges often enough. Sponges collect bacteria over time even with regular washing. Replace every 1–3 months.
- Applying foundation with a stiff-bristled brush. Stiffer bristles drag more across the skin. Choose a soft synthetic brush instead.
- Skipping the sponge's damp step. A dry sponge absorbs too much product and creates streaks. Always dampen and squeeze before use.
- Storing tools in a closed, damp container. This traps moisture and encourages bacteria growth. Store tools in a well-ventilated spot.
- Using a foundation brush on blemishes without a sponge. If you have visible texture, use a sponge for coverage and switch to a brush only for blending.
Frequently Asked Questions
Is a brush or sponge better for foundation on acne-prone skin?
For most people with acne-prone skin, a damp makeup sponge is the better choice. It presses product into the skin without dragging across blemishes, and the moisture thins the foundation so you can build coverage in thin layers. Brushes can deposit too much product in one pass, which can look heavier on textured or blemished skin.
Can a brush make acne worse?
A brush itself does not cause acne. However, a dirty brush can transfer oil, dead skin cells, and bacteria onto blemishes, which may contribute to congestion over time. If you use a brush, cleaning it regularly is important. For acne-prone skin, many people find that a damp sponge deposits less product and is easier to keep hygienic.
How often should I clean my foundation brush?
Foundation brushes should be cleaned at least once a week, and more often if you have acne-prone skin. Deep clean with a brush cleanser or gentle soap, rinse thoroughly, and dry flat with the bristles pointing slightly downward so water does not seep into the ferrule. Dirty brushes are one of the most common causes of congestion on acne-prone skin.
How often should I replace a makeup sponge?
Makeup sponges should be replaced every 1–3 months, depending on how often you use them. Wash them after every use with a gentle soap, and replace them as soon as they start to tear, change texture, or hold onto stains that don't come out. Reusing a dirty sponge is a common cause of congestion on acne-prone skin.
What is the best way to apply foundation on acne-prone skin?
The most common approach is a damp makeup sponge. Press the foundation into the skin using gentle bouncing motions instead of sweeping. For spot-coverage on individual blemishes, use a small flat concealer brush. This combination gives you the smoothing of the sponge plus the precision of the brush where you need it.
Does a damp sponge waste foundation?
A damp sponge absorbs some product, so you may use slightly more foundation per application than with a brush. However, the trade-off is thinner, more even coverage — which is often the goal on acne-prone skin. To reduce waste, dispense a pea-sized amount at a time rather than soaking the sponge.
Can I use my fingers to apply foundation on acne-prone skin?
Yes. Clean fingers work well and give you more control over how much product you apply. Some people find that fingers deposit too much product or leave streaks, but with the right technique — press, don't rub — clean fingers can give a smooth result. The most important thing is to use clean hands.
What kind of brush is best for acne-prone skin?
If you use a brush on acne-prone skin, choose a synthetic-bristle buffing brush with soft, dense bristles. Avoid stiff-bristled brushes, which can drag across blemishes. Use light pressure and small, gentle motions rather than sweeping. For areas with visible blemishes, switch to a damp sponge or small concealer brush.
Do silicone sponges work for acne-prone skin?
Silicone sponges are easier to keep hygienic because they don't absorb product or trap bacteria, and they can be washed with soap and water between uses. They distribute foundation thinly and evenly, but they don't give the same soft-focus blending that a damp latex-free sponge does. For acne-prone skin, silicone sponges are a good hygiene-focused option.
Should I use a brush and a sponge together?
Yes, many people use both. Apply foundation with a damp sponge for even coverage, then use a small flat concealer brush to spot-conceal individual blemishes. Some people also use a brush for foundation and a sponge to soften edges. Using both gives you the benefits of each tool.
The Bottom Line
The tool you use to apply foundation matters just as much as the formula itself — especially on acne-prone skin, where texture and hygiene affect the final look.
For most people with acne-prone skin: A damp makeup sponge is the better everyday tool. It presses product into the skin without dragging, and thins the foundation so you can build coverage in layers.
If your skin is mostly smooth: A soft synthetic buffing brush gives even, fast coverage and does not waste product.
If hygiene is your priority: A silicone sponge is the easiest tool to keep clean and does not absorb product.
If you want minimal equipment: Clean fingers work well and give you control over how much product lands on each area.
Best combination: Sponge for overall coverage, small flat brush for spot-concealing individual blemishes. This routine gets the strengths of both tools.
Whatever you choose, remember two things above all: clean your tools regularly and replace sponges every 1–3 months. Dirty tools are one of the most common causes of congestion on acne-prone skin.
For the complete application routine that pairs with your tool, see our step-by-step foundation application guide. For foundation formulas that work best with a damp sponge, see our pillar guide: Best Foundation for Acne-Prone Skin. For how to remove foundation without irritating the skin, see our foundation removal guide.
References & Sources
- Allure — best foundation brushes and makeup sponges.
- The Strategist — makeup artist interviews on foundation tools.
- Vogue — expert guidance on cleaning makeup brushes and sponges.
- Paula's Choice — cosmetic guidance on applicator hygiene.
- Aggregated user reviews from Sephora, Ulta, and Reddit (r/MakeupAddiction, r/SkincareAddiction, r/Acne).
Was this article helpful?

Anam Ahsan
Skincare Enthusiast & BloggerHi, I'm Anam! I'm a beauty and skincare enthusiast who loves testing new products and sharing honest, personal reviews. I document my skincare journey and share what works for my skin so you can make better choices for your routine.

Comments (24)
Hannah W.
2 days agoThis guide saved me so much money — went with the budget pick and honestly can't tell the difference from serums twice the price!
Anam Ahsan Author
1 day agoSo glad it worked out for you, Hannah! That's exactly the kind of result we hoped readers would see.