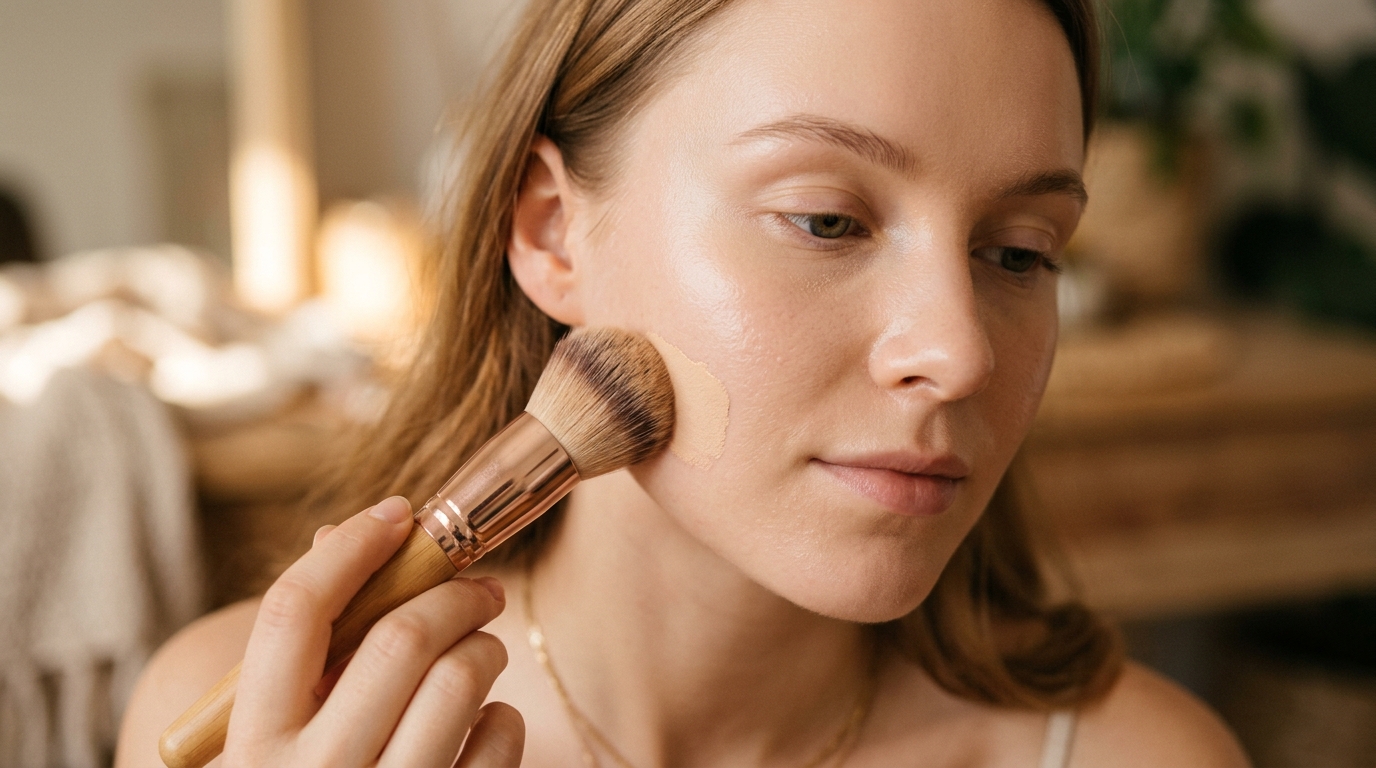
How to Apply Foundation on Acne-Prone Skin Without Caking
You finish your base, step into natural light, and see it — every blemish has a patch of foundation sitting on top of it instead of blending in. The formula has collected around the texture instead of gliding over it, and what was supposed to be coverage now looks like a highlight for everything you wanted to hide.
This is the most common frustration with makeup on acne-prone skin. The problem is rarely the foundation itself. It is almost always the technique — specifically, using the same application method for acne-prone skin that you would use for smooth skin.
The core principle: foundation on acne-prone skin should be applied in thin, buildable layers with a damp sponge, with spot coverage on individual blemishes rather than heavy all-over application. Prep with lightweight skincare, match your product bases, skip powder on textured areas, and remove thoroughly at night. Get this process right and even drugstore foundations can look smooth on blemish-prone skin.
This guide walks through the complete 8-step cosmetic routine — from prep to spot coverage to setting and removal — with the specific technique details that make the biggest difference.
The 8-step method: (1) Lightweight moisturiser, (2) Hydrating primer if needed, (3) Colour corrector on dark marks, (4) Foundation in thin layers with a damp sponge, (5) Spot-cover blemishes with a small brush, (6) Set only where needed, (7) Hydrating setting spray, (8) Double cleanse every night.
Key Takeaway
Caking and patchiness on acne-prone skin are almost always application problems, not foundation problems. A damp sponge, thin layers, spot coverage instead of full coverage, and skipping powder on textured areas solve most issues. Never add more foundation over a blemish to fix it — always work in layers.
Why Foundation Behaves Differently on Acne-Prone Skin
Before diving into the steps, it helps to understand why foundation reacts the way it does on acne-prone skin. Three things are happening at once:
- Uneven texture catches product. Blemishes, marks, and enlarged pores create tiny dips and bumps on the skin's surface. Foundation pigment settles into these variations, which is why heavy application often makes blemishes look more prominent rather than less.
- Oil production breaks down product. Acne-prone skin often produces more oil, which can dissolve the foundation film unevenly. This causes patchiness, especially in the T-zone, and can make the formula separate around blemishes.
- Pilling from base mismatch. When water-based and silicone-based products are layered together, they can pill — tiny balls of product form on the skin, which look like patches of dryness but are actually a formulation issue.
None of these are problems with the foundation itself. They are all things your application technique can work around — or, if you get it wrong, make worse.
What You'll Need
You do not need expensive products to apply foundation well on acne-prone skin, but the categories matter.
| Category | What to Look For | Examples |
|---|---|---|
| Lightweight moisturiser | Non-comedogenic, water-based, gel or lotion texture | CeraVe PM, Neutrogena Hydro Boost Water Gel |
| Hydrating primer (optional) | Hydrating rather than mattifying or pore-filling | Milk Hydro Grip, Laura Mercier Pure Canvas Hydrating |
| Colour corrector (optional) | Green for redness, peach or orange for dark marks | LA Girl Pro Conceal (green), Charlotte Tilbury Colour Corrector |
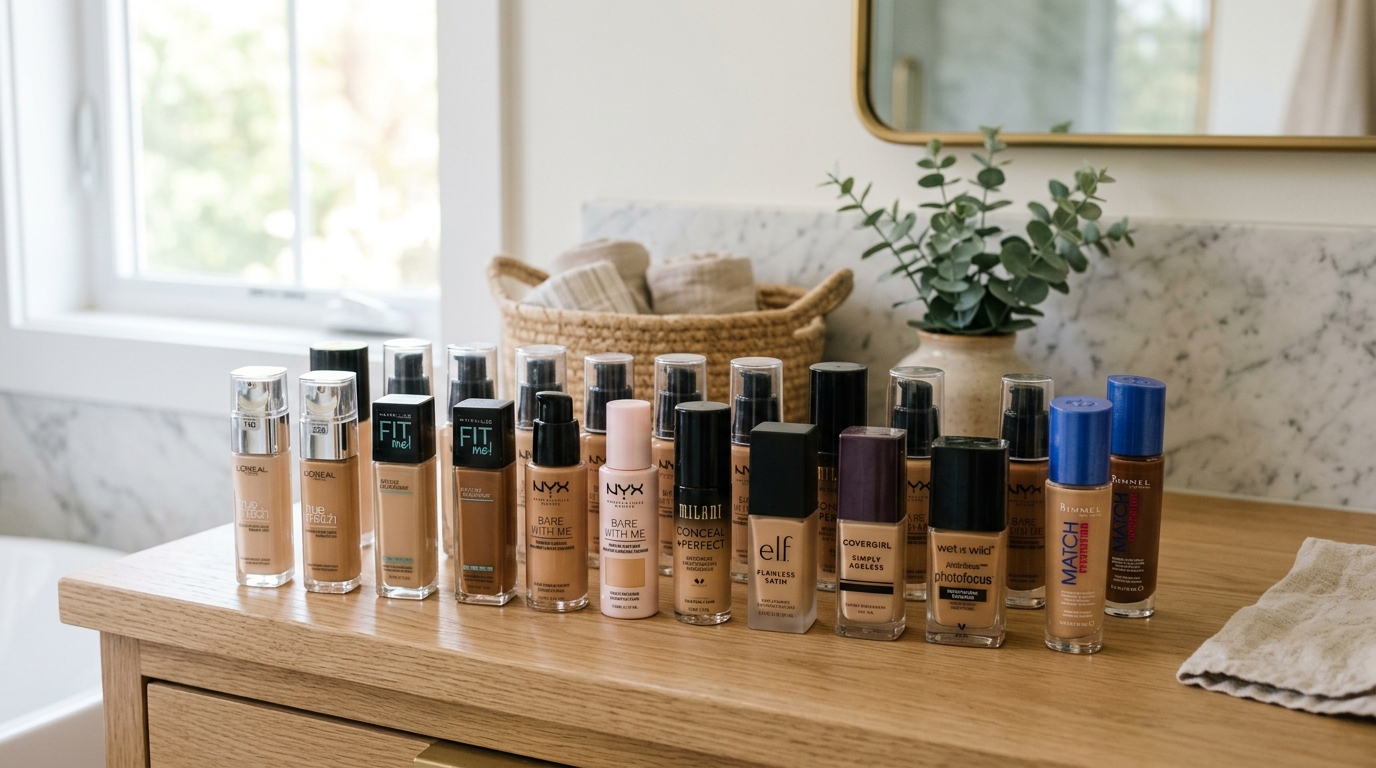
| Non-comedogenic foundation | Water-based, buildable, natural matte or satin finish | Maybelline Fit Me Matte + Poreless, Clinique Acne Solutions |
| Full-coverage concealer | For spot-covering individual blemishes and marks | NARS Radiant Creamy Concealer, Maybelline Instant Age Rewind |
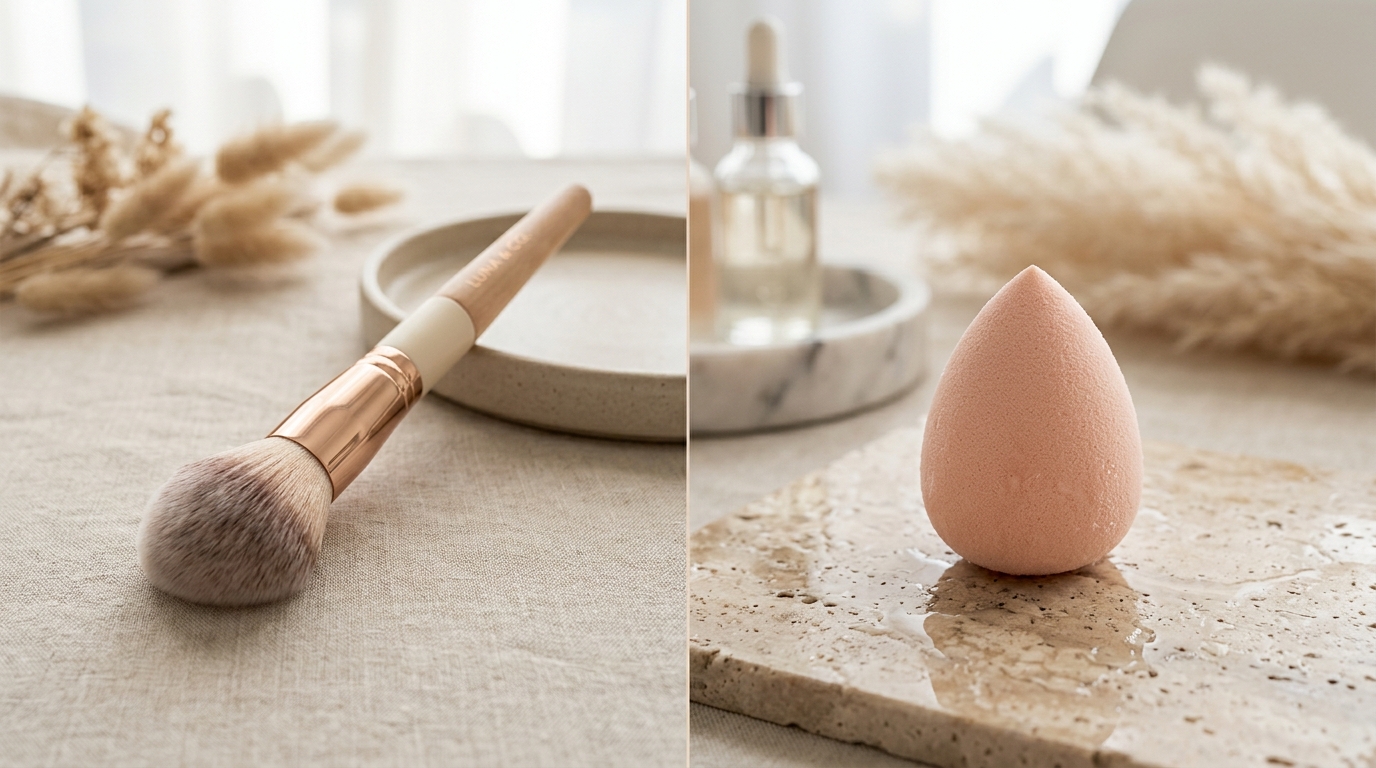
| Damp makeup sponge | Soft, latex-free sponge, squeezed of excess water | Beautyblender, Real Techniques Miracle Complexion Sponge |
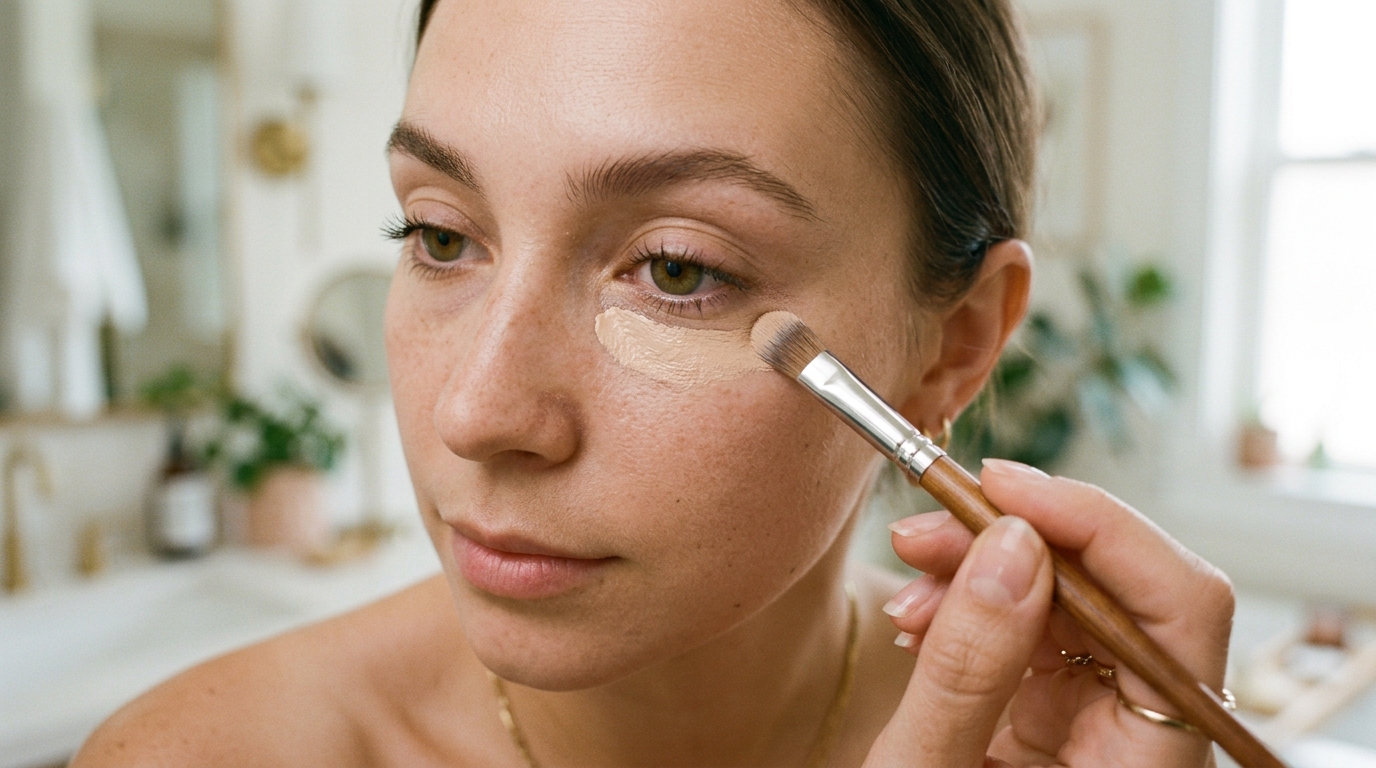
| Small flat concealer brush | For precise spot coverage on individual blemishes | Sigma F70, Real Techniques Detailer Brush |
| Hydrating setting spray | Glycerin or aloe-based, no alcohol | MAC Fix+, Tatcha Luminous Dewy Skin Mist |
Step-by-Step: How to Apply Foundation on Acne-Prone Skin
Follow these steps in order. Total time: about 12–15 minutes from skincare to setting spray.
Prep with a lightweight moisturiser
Cleanse gently — avoid foaming cleansers if your skin feels tight after washing. Apply a lightweight, non-comedogenic moisturiser in a gel or lotion texture. Focus on dry areas but avoid over-applying on oily zones.
Then wait 5 minutes before moving on. This is not optional. Applying foundation on top of freshly applied moisturiser causes streaking, pilling, and patchiness.
Why this matters: Foundation sits on top of your skincare, not on bare skin. A smooth, absorbed base means smoother foundation. A tacky or wet base means patchy foundation.
Apply a hydrating primer (optional)
If you use a primer, choose a hydrating primer, not a mattifying or pore-filling one. Press it into the skin with clean fingers or a damp sponge, focusing on the areas where foundation usually breaks up (T-zone, cheeks). Wait 2 minutes.
If your moisturiser already creates a good base, you can skip the primer entirely. More layers do not always mean better results.
Why this matters: Mattifying and pore-filling primers can dry out textured areas and emphasise flaking. A hydrating primer creates a slightly smooth surface without drying, which helps foundation apply more evenly over acne-prone skin.
Colour correct underneath (optional)
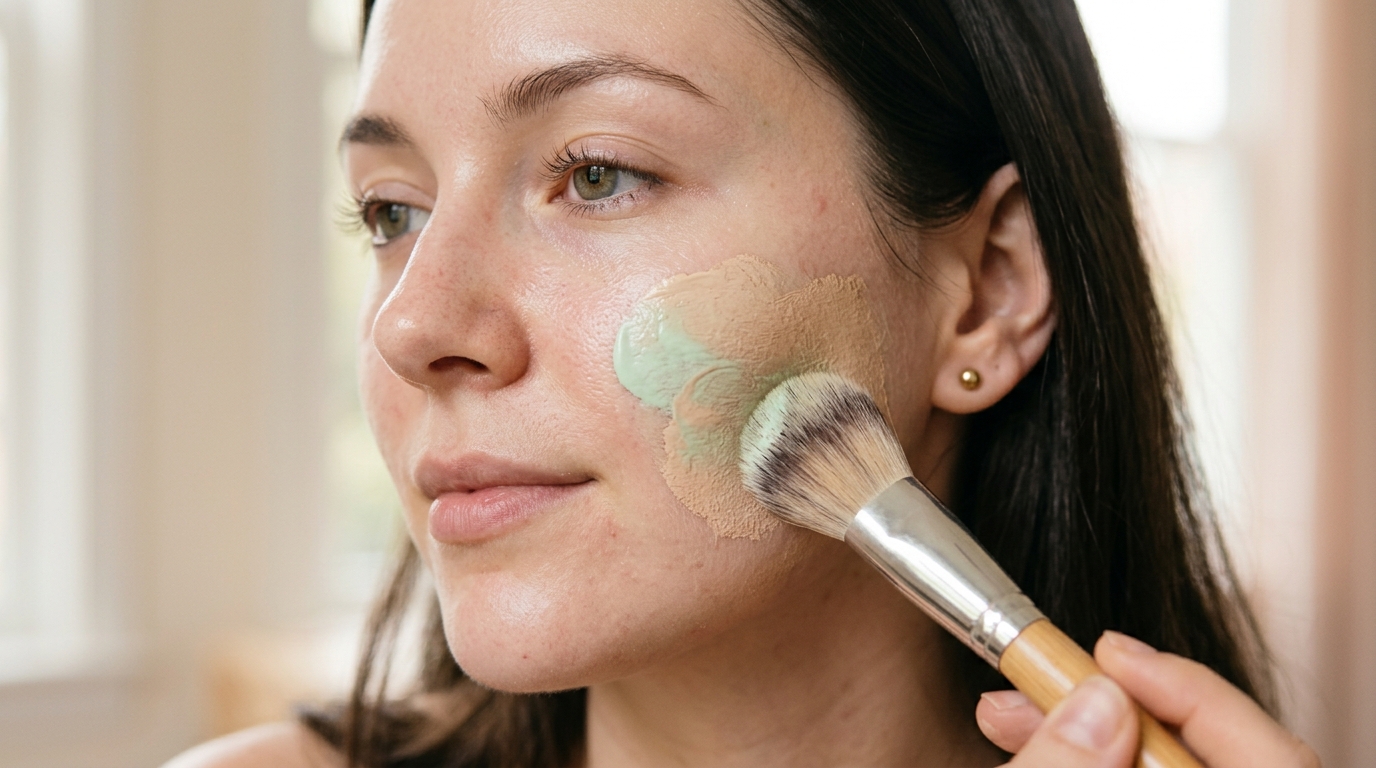
For dark marks or redness, apply a small amount of colour corrector before foundation. Tap it in lightly with a clean fingertip or small brush — do not layer heavily.
- Green corrector: helps soften the look of redness
- Peach or orange corrector: helps soften the look of dark marks
Use a tiny amount — a pinhead-sized dot per area is usually plenty. Let it settle for 30 seconds.
Why this matters: Colour correcting before foundation means you need less foundation to even out the tone. Less foundation = less chance of caking over texture.
Apply foundation in thin layers with a damp sponge
Soak a makeup sponge in water, then squeeze it out completely until it is damp, not wet. If it drips, it is too wet.
Dispense a pea-sized amount of foundation onto the back of your hand. Pick it up with the damp sponge and press it into the skin using gentle bouncing motions. Start at the centre of your face (nose, inner cheeks) and work outward.
Do not sweep or drag the sponge across the skin — that disturbs blemishes and creates streaks. Press straight down, lift, move to the next area.
Apply a second thin layer only where you need more coverage. Stop at 2–3 thin layers.
Why this matters: The damp sponge thins the foundation as you apply it, which prevents heavy pigment deposits over texture. Thin layers melt into each other and look like skin — one heavy layer sits on top and looks like a mask.
Spot-cover individual blemishes
After your foundation base is set, use a small flat concealer brush to press a tiny amount of full-coverage concealer directly onto each blemish. Do not rub — press the product onto the spot, then tap the edges to blend with the surrounding foundation.
Work on one blemish at a time. Less product per blemish is better — you can always add more, but you cannot easily take away.
Why this matters: Spot coverage uses less product overall, which prevents caking. Applying concealer after foundation means you are only adding coverage where it is needed, not everywhere.
Set only where needed
Powder is the biggest cause of visible texture on acne-prone skin. Skip it entirely on dry or textured patches.
If you have an oily T-zone, use a small amount of finely milled powder only on the forehead, nose, and chin — never on the cheeks or over blemishes. Press the powder in with a small fluffy brush rather than sweeping.
Why this matters: Powder absorbs moisture and settles into textured areas, making blemishes look more prominent. On oily zones it can help control shine, but everywhere else it works against you.
Set with a hydrating spray
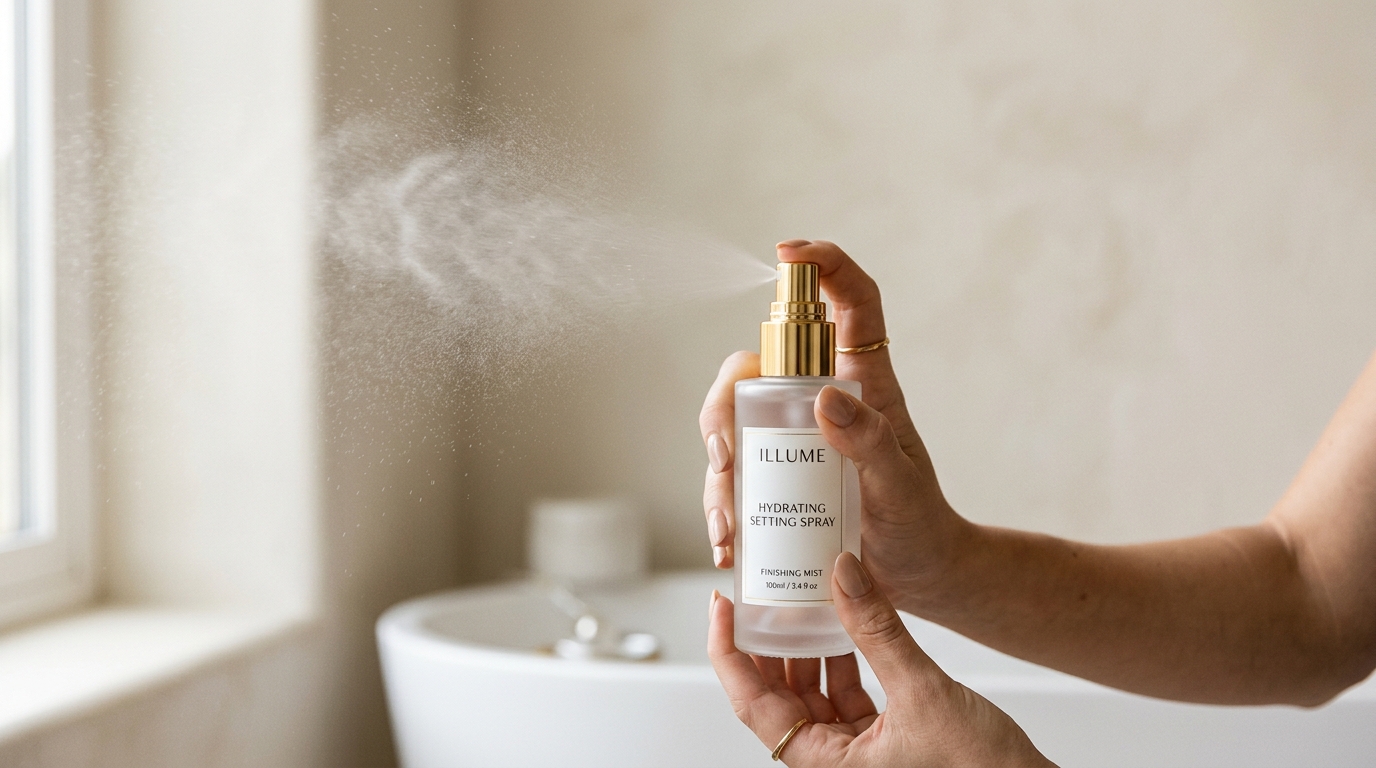
Mist a hydrating setting spray over the face from about 8–10 inches away. Let it air-dry — do not press, blot, or fan it. The mist helps the layers of skincare and makeup melt together and gives the finish a soft, natural look.
Look for formulas that list glycerin or aloe near the top and do not list alcohol or denatured alcohol in the first five ingredients.
Why this matters: A hydrating setting spray replaces the function of powder (setting the makeup) without drying out the skin. It also softens any visible powder from step 6 and helps the foundation wear longer.
Remove thoroughly at night
This is the most important step in the entire routine — and the one most people skip or rush.
Double cleanse every night:
- First cleanse: oil-based cleanser or cleansing balm to break down makeup, sunscreen, and oil
- Second cleanse: water-based cleanser to remove any residue the oil cleanser left behind
Then follow with your normal evening skincare routine.
Why this matters: For cosmetic purposes, removing makeup thoroughly every night helps keep skin comfortable under daily foundation. This is the single most important habit for anyone who wears foundation regularly.
Troubleshooting: Common Problems and Fixes
| Problem | Most Likely Cause | Fix |
|---|---|---|
| Foundation sits on top of blemishes | Too much product in one layer | Use less foundation, apply in thinner layers, use damp sponge |
| Coverage looks cakey by mid-day | Powder setting, or too much product | Skip powder, reduce foundation quantity, use hydrating spray |
| Foundation pills or separates | Base mismatch (water vs silicone) | Match water-based with water-based; wait between layers |
| Foundation breaks up around nose and mouth | High-movement areas, oil production | Use less product there, skip powder, use hydrating spray |
| Coverage fades by mid-day | Formula not matched to skin type | Switch to a longer-wear non-comedogenic formula; set T-zone only |
| Blemishes look more prominent after foundation | Heavy application over textured skin | Use spot coverage instead of full coverage; colour correct first |
Mid-Day Fixes (Without Ruining Your Base)
Even with careful application, acne-prone skin can start to show through after 4–6 hours. Here is how to fix it without adding more layers:
- If your T-zone looks shiny: Use blotting papers to press gently on the skin — do not rub. Avoid adding powder, which can cake over time.
- If foundation has broken up around the nose: Press a clean damp sponge over the area to redistribute what is already there. Do not add more product.
- If a blemish is showing through: Use a small brush to press a tiny amount of concealer onto that specific spot only. Blend the edges with your fingertip.
- If your face looks dull: Mist with a hydrating setting spray — this "wakes up" the finish without adding product.
The golden rule: Never fix a blemish by adding more foundation on top. Always use the smallest amount of concealer, and always blend the edges into the surrounding base.
Do
- Wait 5 minutes after moisturiser before foundation
- Match bases (water with water, silicone with silicone)
- Use a damp sponge and press, don't sweep
- Build in thin layers — 2 to 3 max
- Spot-cover blemishes with a small brush
- Double cleanse every night
Don't
- Apply to damp skin after skincare
- Mix water-based and silicone-based products
- Sweep with a brush across blemishes
- Layer on more foundation to fix texture
- Set the whole face with powder
- Skip nightly removal — never sleep in makeup
Common Mistakes to Avoid
- Using a mattifying primer. These absorb oil and can make textured areas look drier and more visible.
- Applying to damp skin. "Damp" refers to the sponge, not your face. Damp skin + foundation = streaking and pilling.
- Over-applying around blemishes. More product over a blemish does not hide it — it makes it look more prominent. Use less, not more.
- Layering water-based and silicone-based products. This is the number one cause of pilling. Match your bases.
- Sweeping instead of pressing. Sweeping motions disturb blemishes and create streaks. Always press and lift.
- Setting with powder. Powder settles into texture and creates visible flakes over time. Use a hydrating spray instead.
- Rushing the removal step at night. Thoroughly removing foundation every night is the most important habit for anyone who wears makeup regularly on acne-prone skin.
Frequently Asked Questions
How do I apply foundation over acne without making it look worse?
Prep with a lightweight moisturiser, apply foundation in thin layers with a damp sponge, and press — do not sweep — over blemishes. Use a small concealer brush for extra coverage on individual spots. Skip powder on dry or textured areas, and set with a hydrating spray.
Should I use a brush or sponge for foundation on acne-prone skin?
A damp makeup sponge is generally the best cosmetic tool for acne-prone skin. It presses product into the skin without dragging across blemishes, and the moisture in the sponge thins the foundation so you can build coverage in thin layers. Brushes can deposit too much product in one pass, which can look heavier on textured skin.
How do I cover a pimple with makeup without it looking cakey?
Apply your base layer of foundation first. Then use a small flat concealer brush to press a tiny amount of full-coverage concealer directly onto the blemish. Do not rub — tap the edges to blend. Set only that spot with the smallest amount of finely milled powder if needed. Less product is better for spot coverage.
Should I use colour corrector under foundation for acne?
Yes, a colour corrector can help even out the look of redness or dark marks before foundation. Green correctors help soften the look of redness; peach or orange correctors help soften the look of dark marks. Apply a very small amount and tap it in — do not layer heavily, as this can make foundation look thick.
Can I use powder if I have acne-prone skin?
Powder can help control the look of shine, but too much can emphasise dryness, texture, and flaking. For acne-prone skin, use powder sparingly — only on the T-zone if needed. Skip it entirely on textured or dry areas and set the rest of the face with a hydrating setting spray instead.
How do I apply foundation without caking over textured skin?
The key is thin layers. Start with a pea-sized amount for the entire face, applied with a damp sponge. Build only where you need more coverage — usually on the cheeks and chin. Do not apply more product over a blemish than you would on the rest of the face; that is what causes caking.
How do I stop foundation from breaking up around my nose and mouth?
These are high-movement areas and tend to break down makeup faster. Use less foundation there, skip powder, and set with a hydrating spray. If the area feels tight during the day, press a small amount of moisturiser into the skin with a clean damp sponge rather than adding more foundation.
Should I apply foundation to active breakouts?
You can apply foundation over active blemishes for cosmetic coverage. The most important things are to use a non-comedogenic formula, apply it in thin layers with a damp sponge, and remove it thoroughly every night. If you have persistent or painful acne, consult a qualified healthcare professional — this guide is cosmetic only.
How do I make foundation last all day on oily, acne-prone skin?
Use a water-based foundation matched with a water-based moisturiser and primer. Apply in thin layers with a damp sponge. Set only the T-zone with a small amount of finely milled powder, and finish with a hydrating setting spray. Mid-day, use blotting papers or press a clean damp sponge over shiny areas instead of adding more product.
What should I do if my foundation pills or separates over my skincare?
Pilling usually happens when water-based and silicone-based products are mixed. Check the first three ingredients on your moisturiser, primer and foundation — if they are all water-based, they should layer smoothly. Wait 5 minutes between each layer and use less product overall.
The Bottom Line
Flawless-looking foundation on acne-prone skin is not about finding a perfect formula. It is about technique. The same foundation that looks patchy on Monday can look like skin on Tuesday if you change three things:
- Prep properly. Lightweight moisturiser, wait 5 minutes, match your bases.
- Use a damp sponge and thin layers. Press, do not sweep. Build only where needed.
- Spot-cover instead of full-cover. Concealer on individual blemishes is more effective than a heavier foundation layer over the whole face.
Add in skipping powder on textured areas, setting with a hydrating spray, and double cleansing every night, and you have a routine that keeps your skin comfortable under daily foundation.
For the specific formulas we recommend for acne-prone skin, see our pillar guide: Best Foundation for Acne-Prone Skin. For a related technique guide on dry skin, see our foundation application guide for dry skin.
References & Sources
- Vogue — expert application tips for foundation on textured skin.
- The Strategist — makeup artist interviews on coverage techniques for blemish-prone skin.
- Paula's Choice — guidance on finishes and formulas for acne-prone skin.
- Allure — spot-concealing techniques for blemishes.
- Aggregated user techniques from r/MakeupAddiction, r/SkincareAddiction, and r/Acne.
Was this article helpful?

Anam Ahsan
Skincare Enthusiast & BloggerHi, I'm Anam! I'm a beauty and skincare enthusiast who loves testing new products and sharing honest, personal reviews. I document my skincare journey and share what works for my skin so you can make better choices for your routine.
Comments (24)
Hannah W.
2 days agoThis guide saved me so much money — went with the budget pick and honestly can't tell the difference from serums twice the price!
Anam Ahsan Author
1 day agoSo glad it worked out for you, Hannah! That's exactly the kind of result we hoped readers would see.