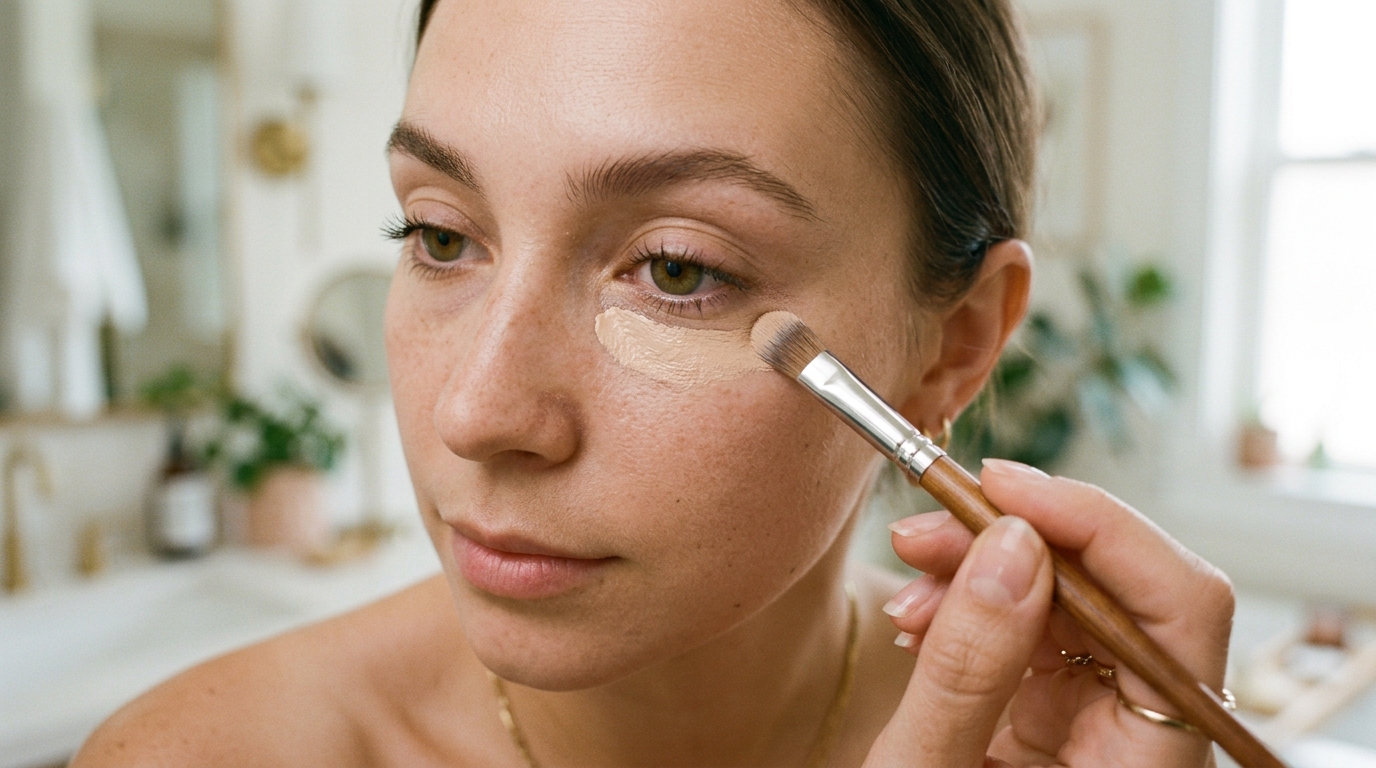
How to Cover Acne Scars with Makeup: Step-by-Step Guide
Covering acne scars and post-acne marks with makeup is not about finding one magic product. It is about technique: how you prep the skin, how you use colour corrector, how you layer coverage, and how you blend. Do those four things well, and even a mid-range foundation can soften the look of marks dramatically.
The most common mistake is trying to cover marks with a single heavy layer of foundation. This does the opposite of what you want — it emphasises texture, cakes over raised areas, and looks obvious. The right approach is thin layers, colour correcting underneath, and precise spot coverage.
Based on our testing of coverage techniques on skin with post-acne marks, the most effective cosmetic approach is: colour corrector first, foundation in thin layers with a damp sponge, spot-conceal any remaining marks with a small brush, skip powder on textured areas, and set with a hydrating spray. This method softens the look of pigmentation and shallow texture significantly — deep or pitted scars may still be visible cosmetically.
This guide walks through the full step-by-step technique, how to approach different types of marks, colour-correcting choices, and the common mistakes that make coverage look cakey.
The 6-step method: (1) Lightweight moisturiser, (2) hydrating primer if needed, (3) colour corrector on marks, (4) foundation in thin layers with a damp sponge, (5) spot-conceal remaining marks with a small brush, (6) skip powder and set with a hydrating spray. Key rule: Build coverage gradually — never one heavy layer.
Key Takeaway
Covering the look of acne scars is a technique, not a product. Colour corrector reduces how much foundation you need. Thin layers with a damp sponge look like skin; one heavy layer looks like a mask. Skip powder on textured areas and set with a hydrating spray. Deep or pitted scars may still be visible cosmetically — for skin-focused concerns, consult a qualified professional.
Understanding Acne Scars and Post-Acne Marks
"Acne scars" is often used broadly, but there are actually three cosmetic categories — and each one responds to a different makeup technique. Understanding which one you have helps you choose the right approach.
1. Post-Inflammatory Marks
These are flat spots left behind after a blemish heals. They are usually red, brown, or purple depending on skin tone and the depth of the original blemish. There is no texture change — just colour.
Cosmetic reality: These are the most coverable with makeup. A colour corrector plus buildable foundation evens out the tone almost completely.
2. Shallow Textural Scars
These are subtle changes in the surface of the skin — shallow indentations or soft raised texture. They are usually the same colour as the surrounding skin but affect how light reflects.
Cosmetic reality: Makeup can soften the appearance of the texture but cannot fully even it out cosmetically. The goal is to make light reflect more evenly rather than flatten the texture.
3. Deep or Pitted Scars
These are deeper indentations that create clear shadows on the skin. They are the hardest to cover cosmetically because the issue is structural, not pigmentation.
Cosmetic reality: Deep or pitted scars cannot be fully covered with makeup. The goal is to reduce their visibility and even out the overall tone of the skin around them. If they are a significant concern, a qualified professional can discuss skin-focused options separately — this guide is cosmetic only.
What You'll Need
| Category | What to Look For | Why |
|---|---|---|
| Lightweight moisturiser | Non-comedogenic, gel or lotion texture | Creates a smooth base without feeling heavy |
| Hydrating primer (optional) | Glycerin, hyaluronic acid, or squalane | Smooths dry texture and prevents clinging |
| Colour corrector | Peach/orange for dark marks, green for red marks | Neutralises tone so you need less foundation on top |
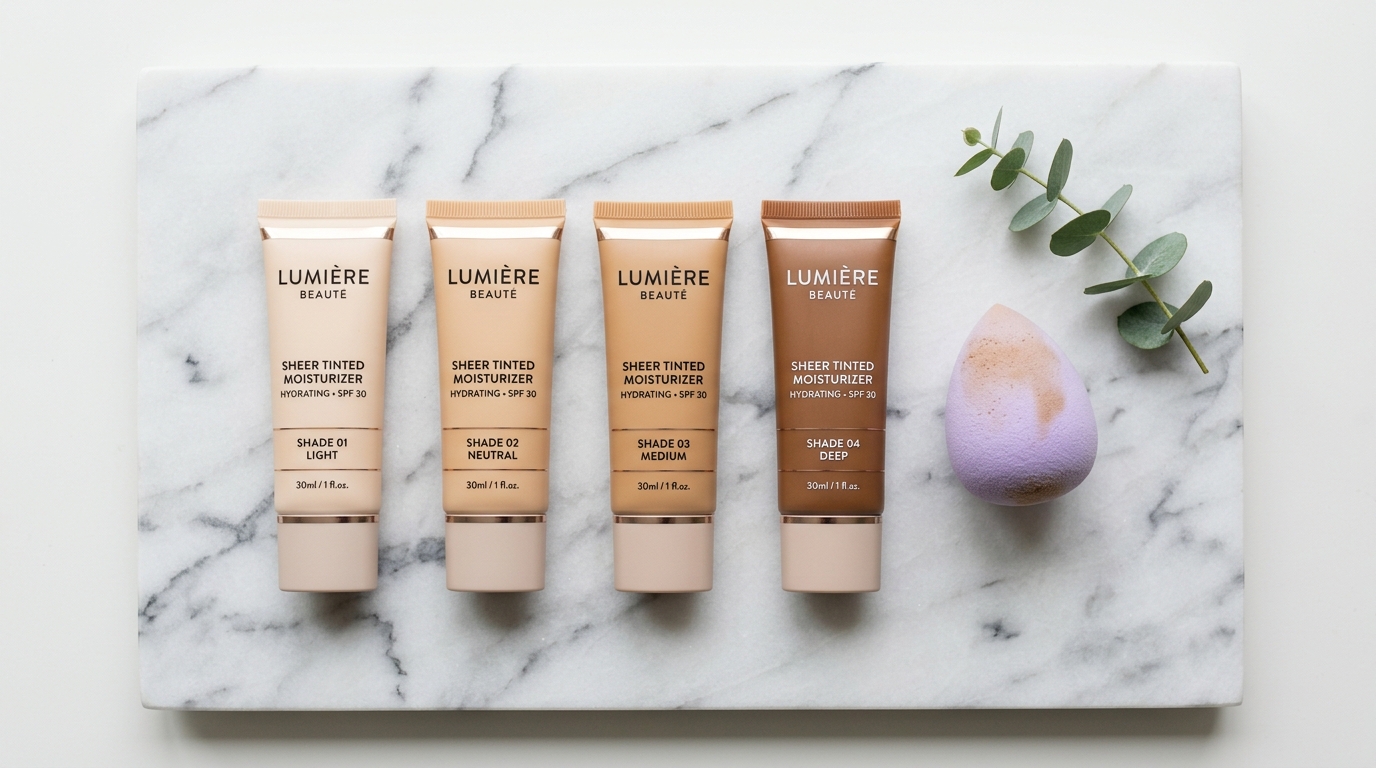
| Buildable foundation | Medium-to-full coverage, satin or luminous finish | Reflects light softly to soften the look of texture |
| Full-coverage concealer | Buildable, non-comedogenic, natural finish | Spot-covers marks that still show through |
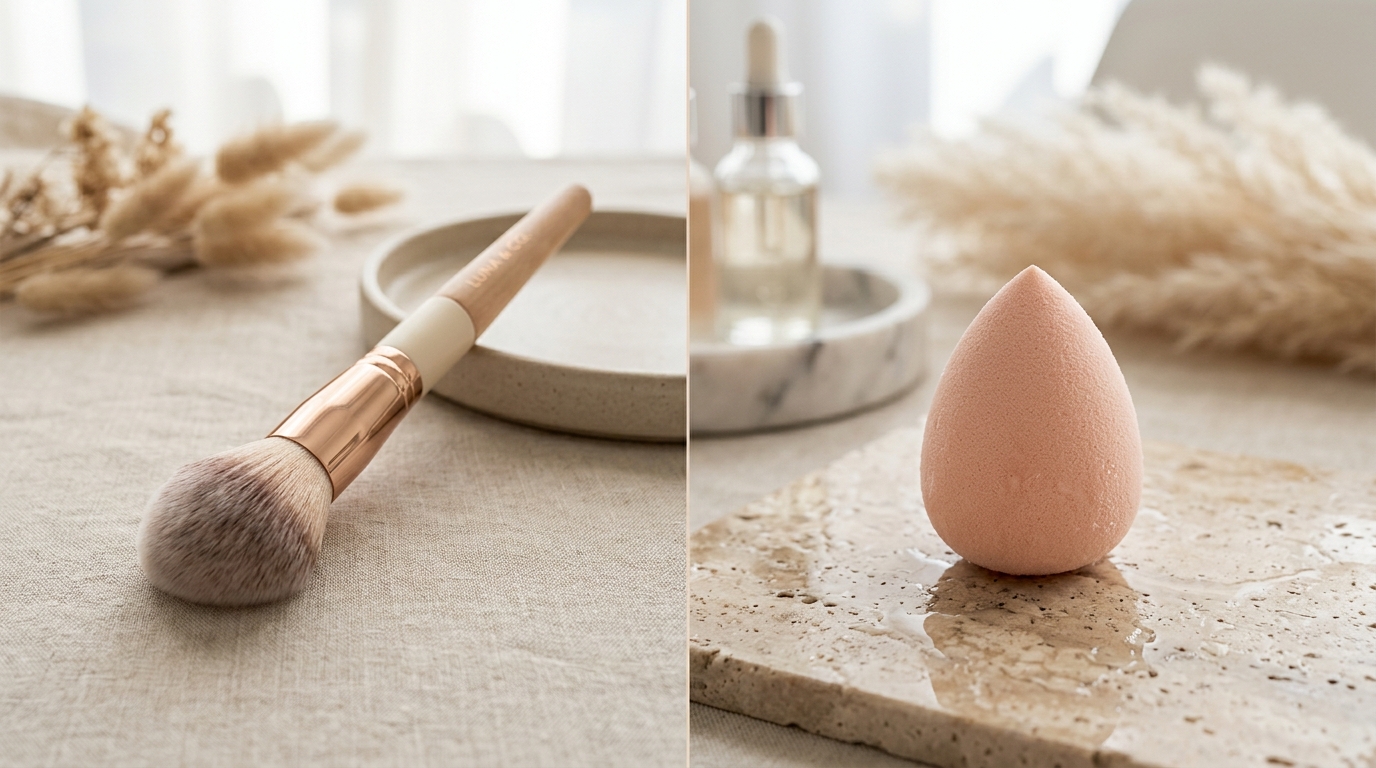
| Damp makeup sponge | Soft, latex-free, squeezed of excess water | Presses product into the skin instead of sweeping |
| Small flat concealer brush | Precision tip for spot coverage | Applies concealer directly onto the mark |
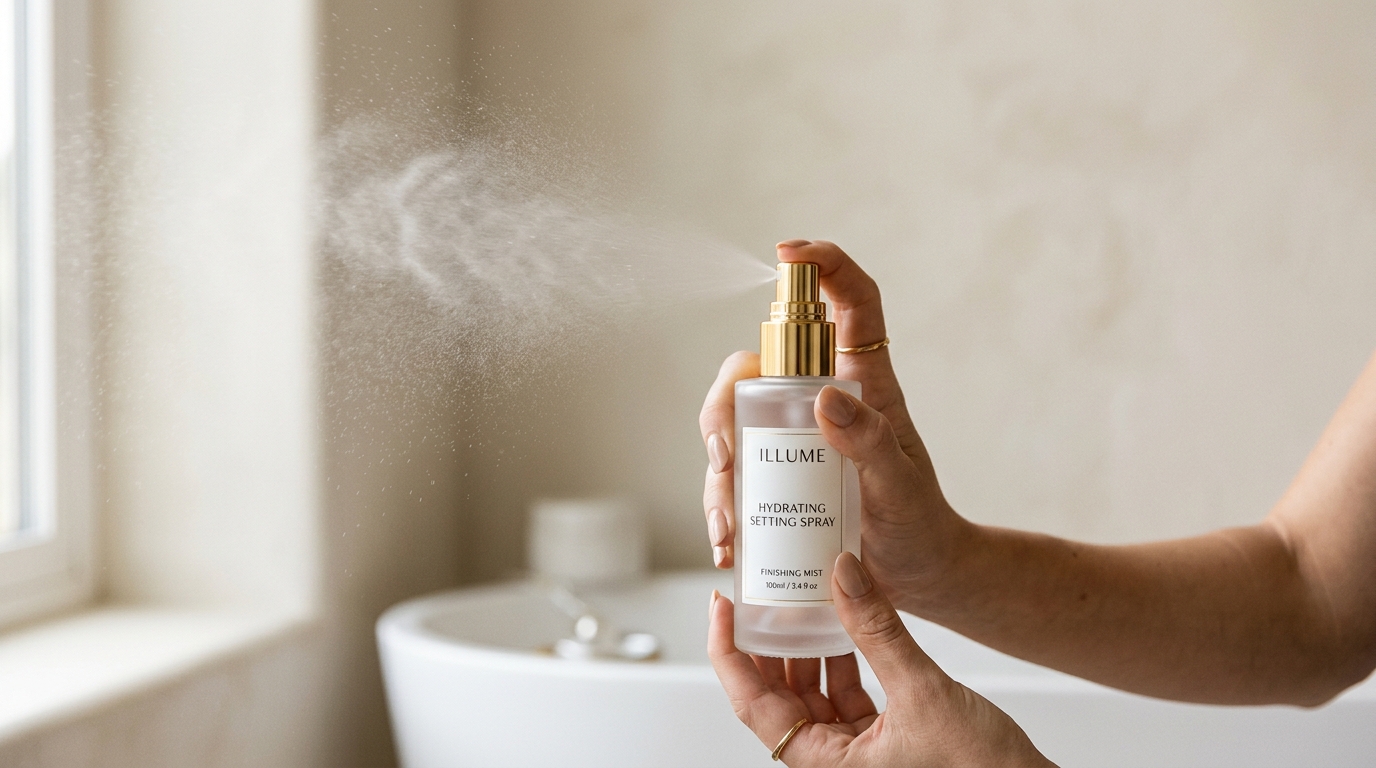
| Hydrating setting spray | Glycerin or aloe-based, no alcohol | Sets makeup without emphasising texture |
Step-by-Step: How to Cover Acne Scars with Makeup
Follow these steps in order. Total time: about 12–15 minutes.
Prep with a lightweight moisturiser
Cleanse gently, then apply a lightweight non-comedogenic moisturiser all over the face. Focus on areas with marks, and add a slightly richer cream on any dry patches around them.
Wait 5 minutes for the moisturiser to fully absorb before moving on.
Why this matters: Coverage over dry skin catches on flakes and settles into texture. A smooth, well-moisturised base means foundation sits more evenly over marks.
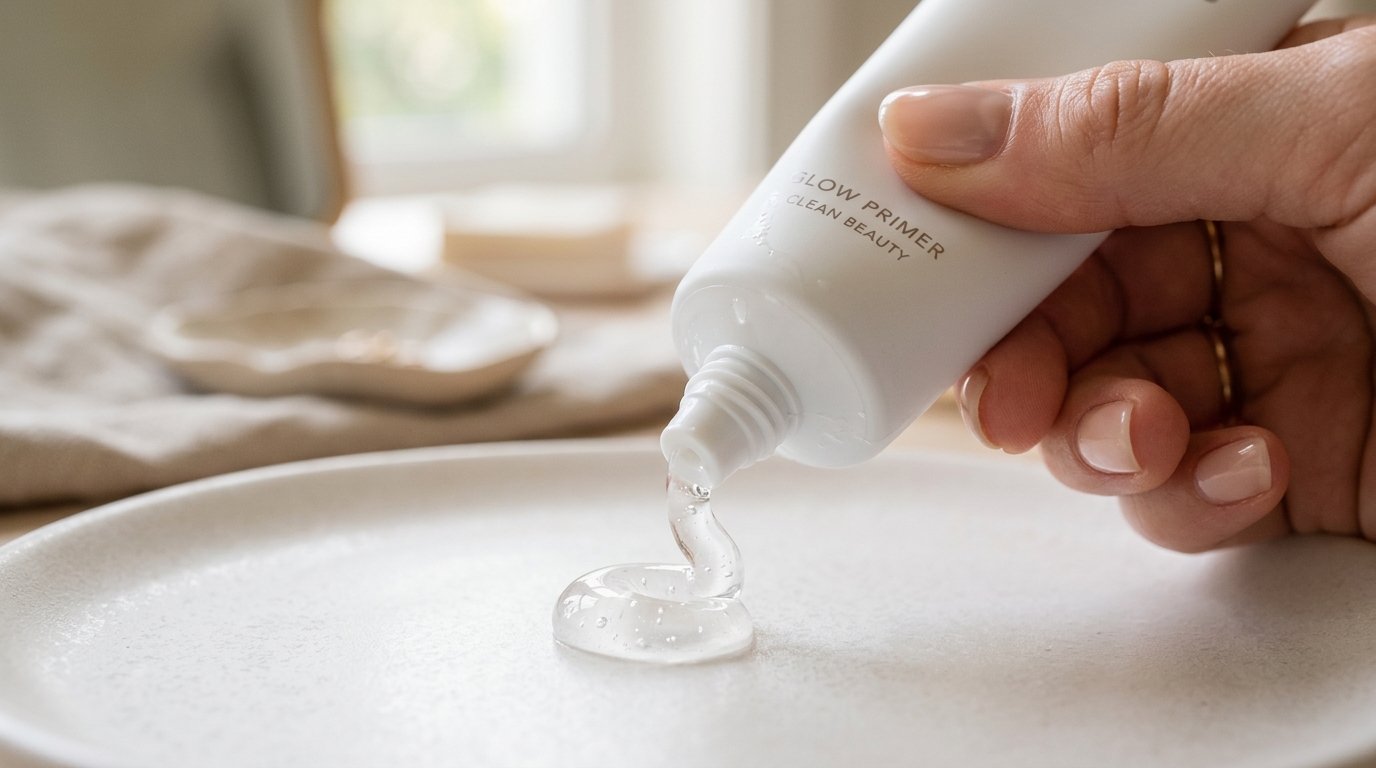
Apply a hydrating primer if needed
If your skin feels textured or has dry patches around the marks, apply a hydrating primer over those areas with clean fingertips. Wait 2 minutes.
If your skin feels smooth and comfortable, you can skip the primer — more layers do not always mean better coverage.
Why this matters: A hydrating primer smooths dry texture and creates a slightly tacky surface that helps foundation adhere more evenly over marks.
Apply colour corrector to the marks
Choose the corrector shade based on the mark colour:
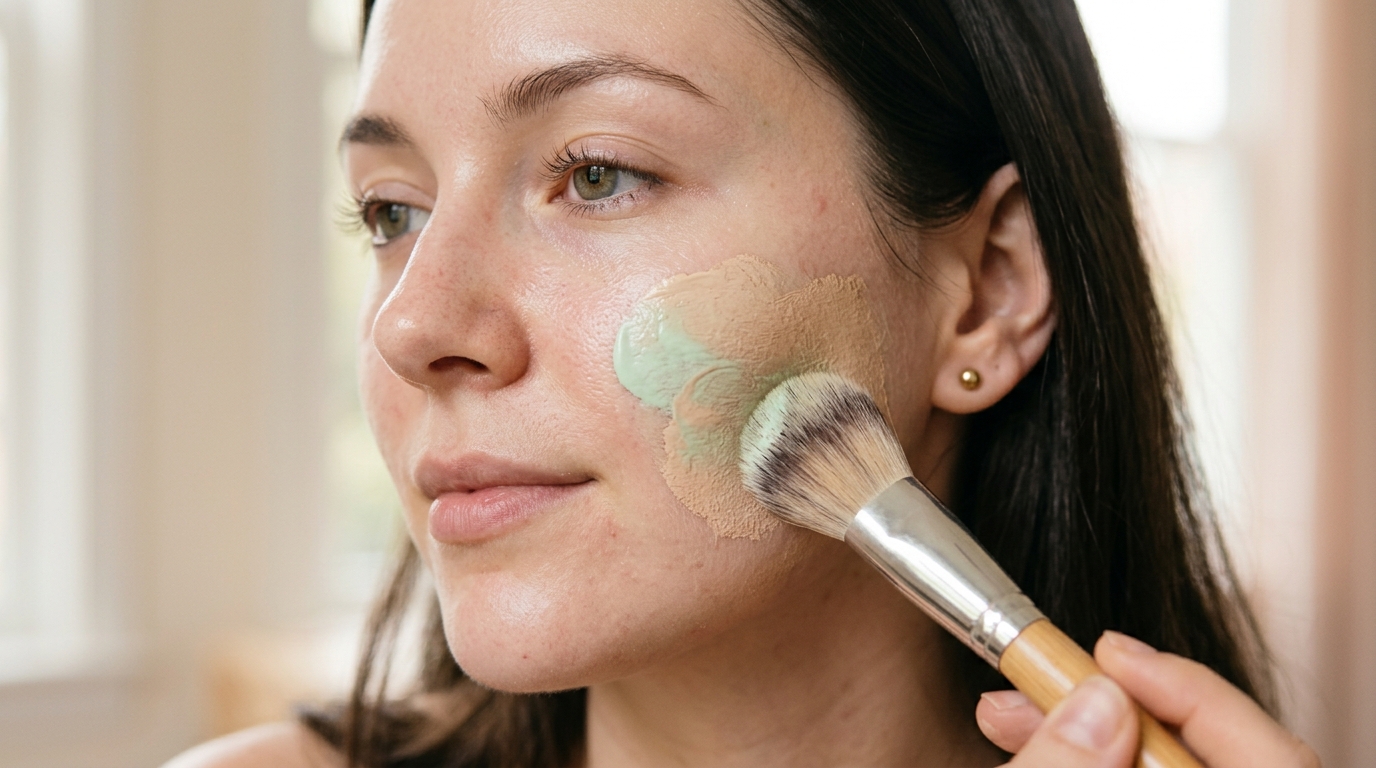
- Green corrector: for red marks
- Peach corrector: for brown or dark marks on lighter skin
- Orange corrector: for brown or dark marks on deeper skin
- Yellow corrector: for purple or blue-toned marks
Use a very small amount — a pinhead-sized dot per area. Tap it in with a clean fingertip, blending the edges. Let it settle for 30 seconds before foundation.
Why this matters: Colour corrector neutralises the tone of the mark so you need less foundation on top. Less foundation means less chance of caking over texture.
Apply foundation in thin layers
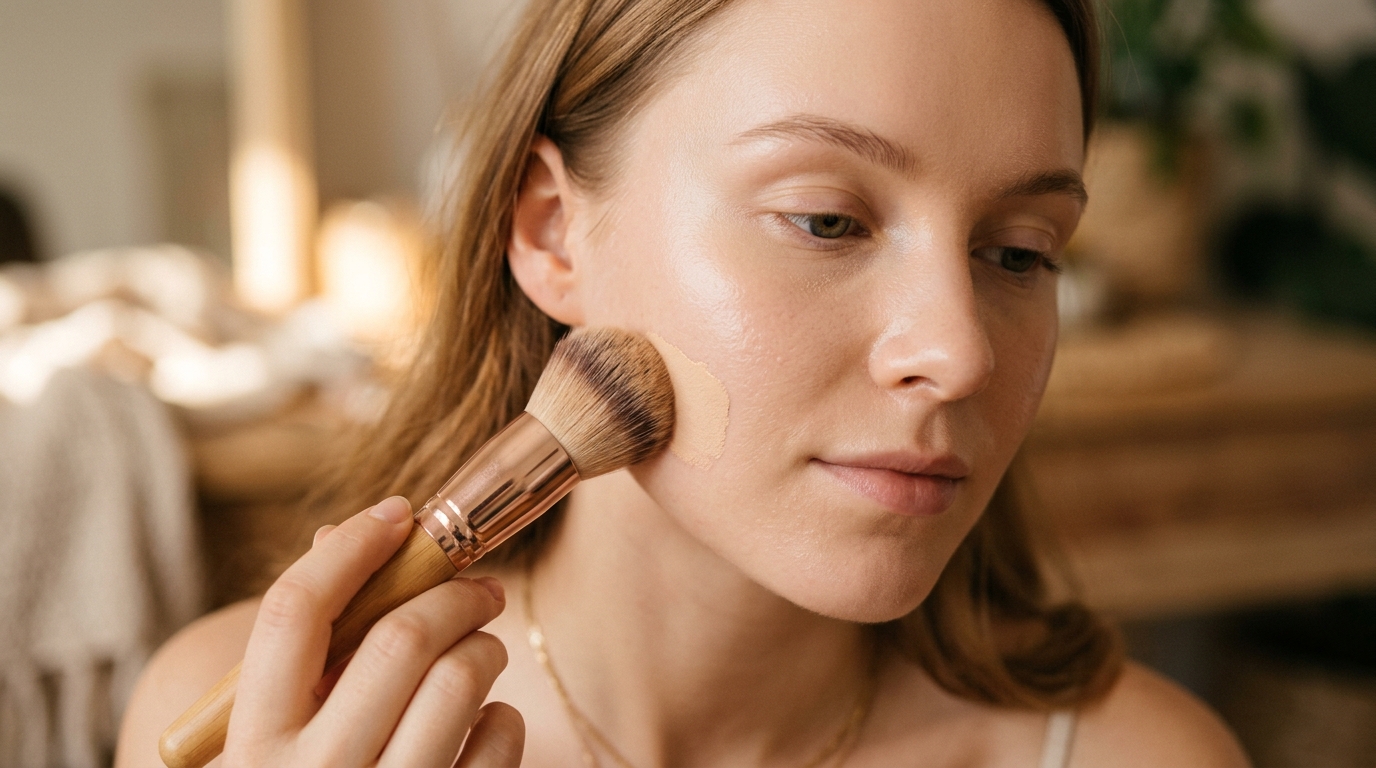
Soak a makeup sponge and squeeze out excess water until it is damp, not wet. Dispense a pea-sized amount of foundation onto the back of your hand.
Press the foundation into the skin using gentle bouncing motions, starting at the centre of the face and working outward. Focus on the areas with marks — but do not layer heavily. Apply a second thin layer only where you need it.
Stop at 2–3 thin layers. If you need more coverage, use concealer — not more foundation.
Why this matters: Thin layers melt into each other and look like skin. One heavy layer sits on top of texture and emphasises it. The damp sponge presses product in rather than sweeping it across.
Spot-conceal remaining marks
Look at your face in natural light. If any marks still show through, use a small flat concealer brush to press a tiny amount of full-coverage concealer directly onto each mark.
Do not rub — press straight down, lift, then blend only the edges with a clean fingertip or the tip of your damp sponge. Leave the centre where the coverage is doing its job.
Why this matters: Spot coverage uses less product overall than layering more foundation over the whole face — which prevents caking and looks more natural.
Set selectively and skip powder on textured areas
Skip powder entirely on areas with marks or texture. Powder absorbs moisture and settles into the surface, making texture more visible over time.
If you have an oily T-zone, use a small amount of finely milled powder only on the forehead, nose, and chin — never on the cheeks or over marks.
Finish with a hydrating setting spray misted from 8–10 inches away. Let it air dry.
Why this matters: A hydrating spray replaces the function of powder (setting the makeup) without drying out the surface. It also helps soften the finish and blend the layers together.
Colour Correcting Guide for Different Marks
Colour correcting is the most under-used step in covering post-acne marks. It reduces how much foundation you need, which directly reduces caking.
| Mark Colour | Corrector Shade | How to Apply |
|---|---|---|
| Red or pink marks | Green | Tap a small amount onto the mark, blend edges before foundation |
| Brown marks (light skin) | Peach | Tap lightly onto the mark; blend before foundation |
| Brown marks (deep skin) | Orange or red-orange | Tap onto the mark, blend the edges carefully |
| Purple or blue-toned marks | Yellow or peach | Tap onto the mark; let settle before concealer |
| Mixed pigmentation | Peach over the whole area | Apply a thin layer across the affected zone, not just on individual spots |
Cosmetic rule: Use a very small amount. Colour corrector is concentrated — a pinhead-sized dot per mark is plenty. Using too much makes the foundation on top look thick or grey.
Technique by Scar Type
Different types of marks need slightly different cosmetic approaches.
| Mark Type | Best Approach | Avoid |
|---|---|---|
| Flat post-acne marks | Colour corrector + thin foundation layers | Layering heavy foundation — you need corrector, not more foundation |
| Shallow textural scars | Satin or luminous foundation; soft-focus primer | Flat matte finishes — they emphasise the texture |
| Deep or pitted scars | Even out tone around them; use luminous finish | Trying to "fill" them with product — it will look cakey |
| Redness around marks | Green corrector first, then foundation | Peach corrector on red — it will look orange |
| Dark marks | Peach or orange corrector first | Layering foundation without corrector — you will need too much product |
Covering Acne Scars on Specific Areas
Cheeks
The cheeks are the most common area for post-acne marks because they are the most common area for breakouts. The skin here is thicker than around the eyes or mouth, so it tolerates more coverage. Apply colour corrector to the marked area, then build foundation in thin layers with a damp sponge. Spot-conceal any remaining marks. Skip powder on the cheeks — it will emphasise texture over time.
Forehead
The forehead tends to be oilier, so foundation here can break down more quickly. Use a mattifying primer only on the forehead if you need it, apply foundation in thin layers, and use a small amount of finely milled powder only on this area if shine is a concern. Colour correct first for any marks.
Chin and jawline
The chin and jawline move with talking and facial expressions, so foundation here settles into fine lines if it is not flexible. Use a serum or cream foundation that moves with the skin, apply thinly, and avoid powder. If marks are visible, use a small brush to spot-conceal rather than layering foundation.
Nose and nose bridge
The nose is a mix of oily zones and thin skin. Coverage here should be thin. Colour correct any marks, apply a light layer of foundation, and use a tiny amount of powder only on the tip of the nose if needed.
Under the eyes and around the mouth
The skin here is thin and moves constantly. Use the smallest amount of product possible. If scars are visible here, spot-conceal with a small brush rather than layering foundation over the whole area.
Mid-Day Fixes (Without Ruining Your Base)
Even with careful application, coverage can soften after 4–6 hours. Here is how to refresh it without making texture more visible.
- If marks are showing through: Use a small brush to press a tiny amount of concealer onto that specific area. Blend the edges with your fingertip.
- If foundation has settled into texture: Press over the area with a clean damp sponge to redistribute what is already there. Do not add more product.
- If your T-zone looks shiny: Use blotting papers to gently press — not rub — the shine away. Avoid adding powder.
- If coverage looks dull or flat: Mist with a hydrating setting spray. This softens the finish and helps the coverage look more natural.
The golden rule: Never fix coverage by layering more foundation over the mark. Always fix it by spot-concealing with a small brush, pressing with a damp sponge, or refreshing with a hydrating spray.
Do
- Colour correct underneath — this is the key step
- Build in thin layers with a damp sponge
- Spot-conceal individual marks with a small brush
- Skip powder on textured areas
- Choose satin or luminous finishes over matte
- Set with a hydrating spray
Don't
- Apply one heavy layer of foundation
- Skip colour corrector on pigmented marks
- Use a very matte foundation on textured skin
- Set the marked areas with powder
- Rub or sweep the sponge across marks
- Layer more foundation mid-day — spot-conceal instead
Common Mistakes to Avoid
- Trying to cover marks with foundation alone. Without colour corrector underneath, you will need too much foundation — which cakes and emphasises texture.
- Applying one heavy layer. Thin buildable layers look like skin. One heavy layer looks like a mask.
- Using a flat matte foundation. Matte finishes reflect less light, which emphasises texture. Choose satin or luminous instead.
- Skipping moisturiser or primer. Coverage over dry skin catches on flakes and settles into every mark. Prep properly.
- Using too much colour corrector. A pinhead-sized dot is enough. Too much corrector makes foundation on top look grey or thick.
- Setting marked areas with powder. Powder settles into texture and makes marks more visible over time. Use a hydrating spray instead.
- Sweeping instead of pressing. Sweeping motions disturb the foundation layer and can drag it away from the marks. Always press and lift.
- Layering more foundation mid-day. If coverage fades, spot-conceal with a small brush — do not add more foundation over the whole face.
Cosmetic Limits: What Makeup Can and Cannot Do
It is important to be honest about what makeup can achieve cosmetically. This is not a limitation of technique or product — it is a limitation of what cosmetics can do.
Makeup can:
- Significantly soften the look of flat pigmentation (red, brown, and purple post-acne marks)
- Even out the tone of the skin around marks
- Reduce the visible contrast between marked and unmarked areas
- Reflect light in a way that makes shallow texture look smoother
Makeup cannot:
- Change the structural shape of deep or pitted scars
- Fill in indentations so they are invisible
- Fully erase pronounced texture
- Treat or fade scars — that requires skincare or professional options outside the scope of makeup
If deep scars or persistent skin concerns are affecting your confidence, a qualified professional can discuss skin-focused options. Cosmetics can help, but they are one part of the bigger picture.
Frequently Asked Questions
How do I cover acne scars with makeup?
Start with a lightweight moisturiser, apply a peach or orange colour corrector on dark marks, then build coverage with thin layers of medium-to-full foundation using a damp sponge. Spot-conceal any remaining marks with a small concealer brush. Skip powder on textured areas and set with a hydrating spray instead.
Can makeup fully cover acne scars?
Cosmetically, makeup can significantly soften the look of flat pigmentation and shallow texture. Deep or pitted scars may still be visible under any makeup because the surface texture cannot be fully evened out cosmetically. For concerns about the appearance of scars, consult a qualified professional.
Should I use a colour corrector for acne scars?
Yes. Colour correctors help neutralise the tone of marks so you need less foundation on top. Use peach or orange corrector for dark marks and green corrector for red marks. Apply a very small amount and blend the edges before adding foundation.
What kind of foundation covers acne scars best?
Buildable medium-to-full coverage foundations work best for the look of acne scars. Satin or luminous finishes reflect light softly and help soften the look of texture. Avoid very matte finishes, which emphasise texture.
How do I stop makeup from clinging to my acne scars?
Prep with hydrating skincare, use a damp sponge to apply thin layers, and avoid powder on textured areas. If marks still show through, use a colour corrector underneath rather than layering more foundation.
Does primer help cover acne scars?
A smoothing or hydrating primer can help create a smoother surface and reduce how much foundation needs to be layered. However, a heavy silicone-based pore-filling primer can emphasise dry patches. Choose a hydrating primer for most acne-scar coverage.
What is the best concealer for acne scars?
A buildable full-coverage concealer works best for spot-covering individual marks. Apply it after foundation with a small flat brush, and blend only the edges. Look for formulas that are non-comedogenic and not overly matte.
How do I cover acne scars without making them look cakey?
Use thin layers rather than one heavy application. Colour correct underneath to reduce how much foundation you need. Press foundation in with a damp sponge instead of sweeping. Skip powder on the marks and set with a hydrating spray.
What is the best way to cover acne scars on the cheeks?
Apply a peach corrector over the mark area, then build foundation in thin layers with a damp sponge. Use a small brush to spot-conceal any marks that still show. Blend the edges into the surrounding foundation so the coverage is not obvious.
Should I use matte or dewy makeup for acne scars?
Satin or luminous finishes generally work better than flat matte for the look of scars. Matte finishes reflect less light and can highlight texture. Luminous finishes reflect light softly, which helps the skin look smoother. A satin finish is often the best middle ground.
The Bottom Line
Covering the look of acne scars and post-acne marks is a technique — not a product. Do these four things well and you will see a real difference:
- Colour correct first. This is the step most people skip — and it is the one that makes the biggest difference.
- Build foundation in thin layers with a damp sponge. Never one heavy layer.
- Spot-conceal remaining marks with a small brush. Focus the coverage where it is needed.
- Skip powder on textured areas and set with a hydrating spray.
Choose satin or luminous finishes rather than flat matte — they reflect light softly and help the skin look smoother. Use a hydrating primer if your skin is dry or dehydrated, and match your product bases to prevent pilling.
For product-specific recommendations by finish and coverage level, see our guide: Best Foundation for Acne Scars. For the full application routine across all acne-prone skin types, see our step-by-step application guide.
References & Sources
- Vogue — expert guidance on covering pigmentation with colour correctors.
- The Strategist — makeup artist interviews on layering coverage for textured skin.
- Allure — colour correcting techniques for post-acne marks.
- Paula's Choice — guidance on finishes for uneven texture.
- Aggregated user techniques from r/MakeupAddiction, r/SkincareAddiction, and r/Acne.
Was this article helpful?

Anam Ahsan
Skincare Enthusiast & BloggerHi, I'm Anam! I'm a beauty and skincare enthusiast who loves testing new products and sharing honest, personal reviews. I document my skincare journey and share what works for my skin so you can make better choices for your routine.
Comments (24)
Hannah W.
2 days agoThis guide saved me so much money — went with the budget pick and honestly can't tell the difference from serums twice the price!
Anam Ahsan Author
1 day agoSo glad it worked out for you, Hannah! That's exactly the kind of result we hoped readers would see.